
What you’ll learn:
Creative text animations to create great looking animated titles
These days, using text in video is becoming more and more popular, especially for video made for social media and streaming platforms like Facebook and YouTube. Today’s video makers often take advantage of exciting animated text for adding information or for style. Traditional video tended to discourage the use of text, especially animated text, but using text has become more and more accepted as the means of video delivery and the expectations of audiences have changed. Creative use of text is weaving its way into the art and craft of making video.
VEGAS Pro helps you take advantage of the creative potential of text with 25 modern text animation presets. These very cool modern presets are ready-made for instant use. You don’t have to do anything but drop them onto your timeline and type in your text. You can always tweak and customize them if you want, but these animations are really cool right away!
To get you started taking advantage of these great animations, we’ll cover a few general guidelines for using text.
Then, in VEGAS Pro, we’ll follow these steps:
STEP 1: Drag Video to the Timeline
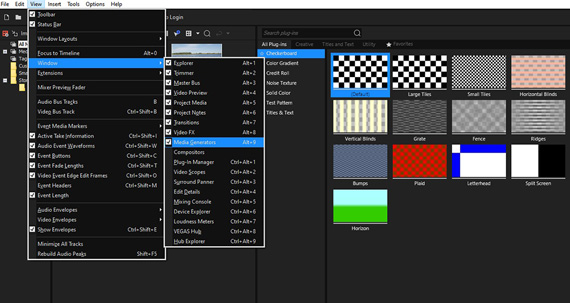
STEP 2: Open Media Generators Window
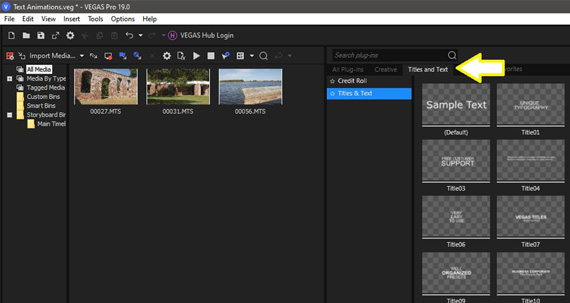
STEP 3: Click Titles and Text Tab
STEP 4: Click Titles and Text
STEP 5: Drag a Preset to the Timeline
STEP 6: Choose an Animation
STEP 7: Adjust Your Text
Read on to learn more about the 25 text animations in VEGAS Pro!

Before we get started in VEGAS Pro, let’s go over a few things to keep in mind while you’re choosing and positioning your text.
Let’s talk a little bit about how best to use text. As we said above, text is getting to be more and more commonplace in the modern age of video. But it’s still possible to overdo it! The biggest rule of thumb for making is video is “show, don’t tell.” Most often, you should use images to tell your story and get your points across, not text. After all, you’re making a video, not writing a book. Use text to enhance your visuals, to add a bit of information or narration, or to mark chapters in your story. Avoid walls of words. Don’t make your audience read your video.
The best text is the least text needed for the job.
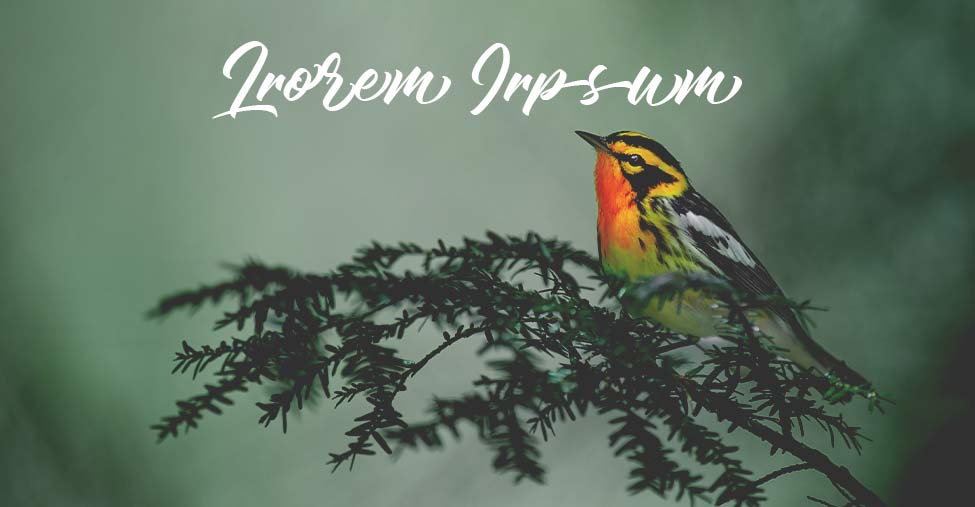
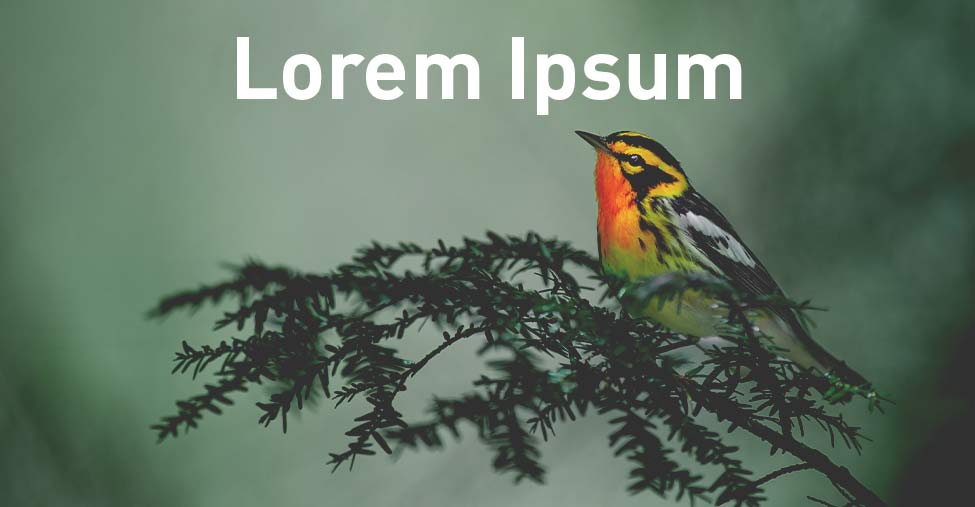
You also want to avoid crazy colors and wild animations. These might be right for a few kinds of videos, like extreme sports or wacky comedy, but for the most part, subtlety is more effective and more professional. Most of the time, a crisp, non-serif white font will do the job best. Also, the modern trend with text animation is that less is more. Don’t tire out your audience with lots of movement. You also don’t want to use an animation which may seem dated later.
The new preset animations in VEGAS Pro are designed with all this in mind. They utilize plain white text, and their animation, though eye-catching, is subtle and professional. You can always change the presets if you want, but they start out subtle and crisp.
Most of the new animations are optimized to look their best in the center of the screen. Some of them even depend on being placed in the center to work properly. For the most part, you don’t really have to worry about placement, because the presets will already place the text in the optimal part of the screen. You may have to adjust the font size, but we’ll cover that in STEP 7 below.
That said, you always have the option of moving the text around on the screen. If you do, take advantage of the guides built into the VEGAS Pro Video Preview window.
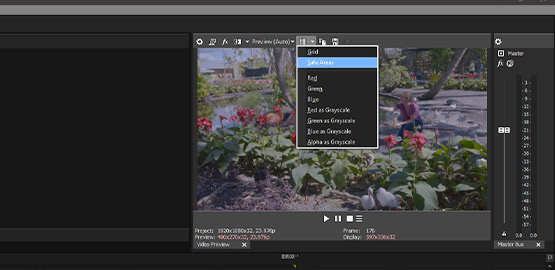
✓ Click the down arrow Overlays button in the Video Preview window.
✓ In the drop-down menu, choose Grid or Safe Areas.
The Grid overlay displays a grid over the video preview, allowing you to place multiple text events consistently in the same position. The Safe Areas overlay displays concentric boxes. Keep your text within those boxes, and your text will never to be too close the edge of the screen, which makes it visually awkward and possibly harder to read.
✓ Click the Overlays button to toggle the Grid or Safe Areas on and off.

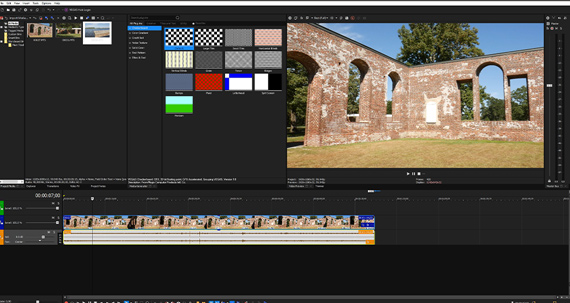
The first thing we need is some video for the text to go on top of. We could just place the text events over an empty track, but everything will look better and make more sense if you place the text over images instead of just a black screen.
✓ If you don’t already have video on your timeline, choose a video clip from the Project Media window and drag it to the timeline area. A new video and audio track combo with the event on them appears.
The text animation will require a new track above the video track, so right-click on the video track or in an empty space in the timeline area and choose Insert Video Track. A new video track appears at the top of the timeline.
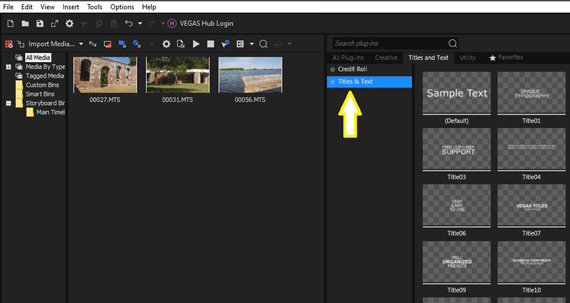
✓ To get to the new text animations, click Titles and Text in the menu at the left of the Media Generators window.
An array of text preset thumbnails appears, starting with (Default). The next presets are named, consecutively, Title01, Title02, Title03, and so on, to Title25. These are the modern animation presets. After Title25, you’ll find the legacy presets from older versions of VEGAS Pro, but we’ll only look at the first 25 presets.
✓ Hover your mouse cursor over a preset thumbnail to watch a preview animation, showing what the preset will do.
✓ Choose one which fits your needs and drag the preset to the empty top track on the timeline.
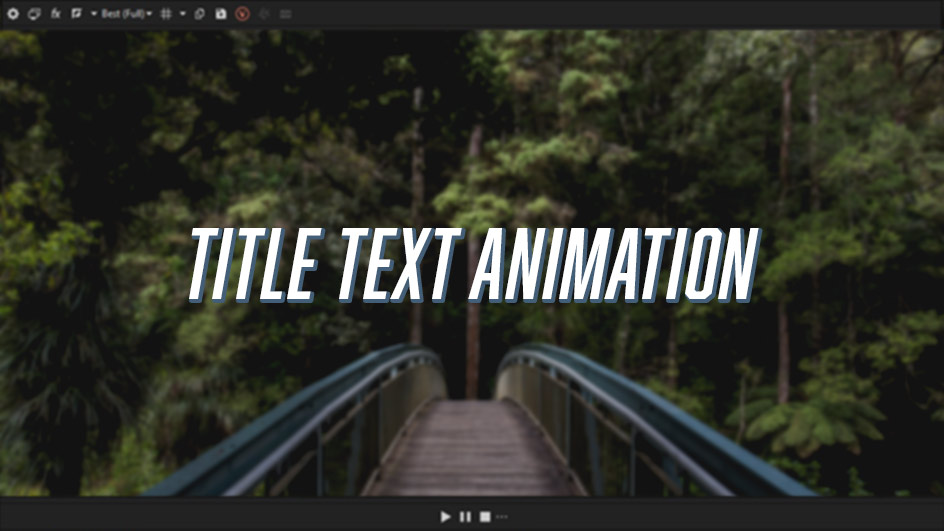
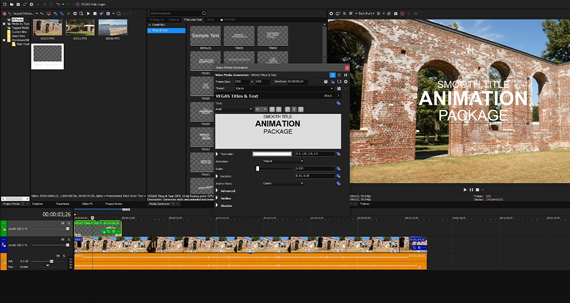
The Video Media Generators window opens, and the VEGAS Titles & Text controls appear. Replace the default text with your own words.
✓ Click the left edge of the title event to set the timeline cursor to the beginning of the event. Play the timeline to watch the animation in action. If it’s exactly what you wanted, then great! You’ve got a slick new animated text in your project!
You can adjust the length of the event on your timeline, but keep in mind that the event itself has a preset length, so stretching the event too long may cause the animation to loop.
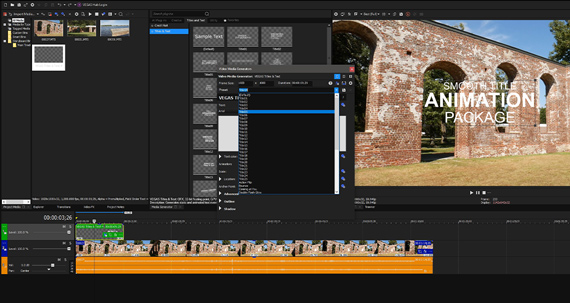
If you decide you’d rather use a different animation instead of the one you chose, you don’t have to drag a new preset to the timeline; you can change the animation in the VEGAS Titles & Text controls.
✓ Click the Generated Media button on the text event to reopen the Video Media Generators window, if necessary.
✓ Click the Animation box. In the drop-down menu, scroll down until you find the Title01 preset. Presets Title02 through Title25 appear below it. You can choose any animation you want, or you can choose each animation one-by-one to see which you prefer.
Choose another preset, then click on the left edge of the text event and play it through from the beginning. Choose different animations and see which one you like best.
Some of the animations work best when you have multiple lines of text. Some work better with different text arrangements, such as two or three words on one line and then one word on the next. Experiment with different animations and word arrangements – you may find exciting combinations that no one else has created before!
Also, you can adjust the anchor point of the animation. The animations are anchored to the center by default, but other anchor points may give you animations you like even better.
✓ Click the Anchor Point box and choose a point from the drop-down menu. Experiment with different choices. See how the animations play out with different anchor points – you may be surprised by the results.
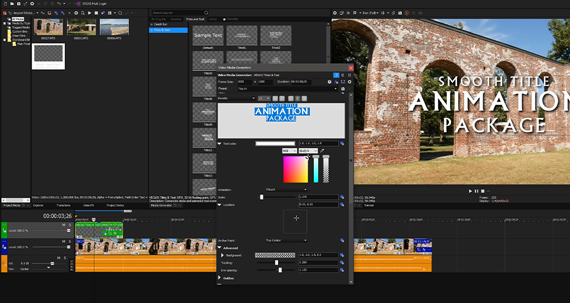
You can also change or adjust all of the usual characteristics of the text In the VEGAS Titles & Text controls. You can change the font. You can change the font color.
Some animations automatically make the text smaller or larger, so you may find it beneficial to adjust the font size. A larger font in an animation which makes the text larger could result in the text falling outside the safe areas or even off the edges of the screen. An animation making the text smaller may make the font harder to read.
✓ Highlight the text you want to change then choose a new font size. Highlight different letters or words and change the font, font size, or font alignment individually.
You can add shadows and outlines and adjust their widths and color.
✓ Adjust the Tracking slider to spread the text letters apart or squeeze them together horizontally. Adjust the Line Spacing slider to move the lines of text further apart or closer together vertically. Be aware, adjusting spacing can affect the anchor point, which will in turn affect the animation.
With these new animation presets and the ability to customize or tweak them to perfection, the text possibilities in VEGAS Pro are endless! Consider adding subtle sound effects like swooshes or typewriter clacks to go along with the animation. You can also apply any of the visual effects in VEGAS Pro to any text event, making the possibilities even more boundless. You truly are limited only by your imagination. Try it today and see for yourself!


What's the difference between VEGAS Pro Edit, VEGAS Pro Suite and VEGAS Pro Post?