The professional video world has many of its own unique technical terms, which can be overwhelming when you’re trying to learn how to shoot, edit, and deliver high-quality content. In this segment, we’ll tackle video codecs – how they work, what the common types are, and what’s best for your project.
A codec, or “coder/decoder,” is a formula or mathematical process for compressing video files so that they require less storage space and can be used more efficiently in playback and non-linear editing systems. Hardware or software uses the codec to take a raw video stream and compress it into a usable video file. Some codecs compress the video in a "lossless" manner which means all of the original data is preserved. Other codecs are "lossy", and that means that you loss some of the video information during compression. Lossless codecs create better video, but don't typically do as good a job of reducing the file size, so most commonly used codecs are lossy. The holy grail is a codec that gives maximum quality with minimum file size. Codecs are getting better all the time, but the perfect one has yet to be developed.
There are several steps in the video process that use codecs.
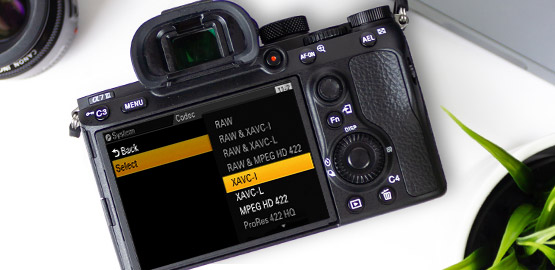
First, the camcorder takes the video stream from the camera sensor and compresses it for recording. A huge amount of information comes from the camera sensor, and it would be too much for a typical camcorder to try to record, so the camera compresses the data to make recordable video files. The codec is the format used to do this.
Second, your editing software uses the codec to decode the video for playback and editing. It reads the video file and plays it back as video.
And finally, when you finish your video, you choose a codec for export so you can deliver your video for others to watch. You can use the same codec as the video was recorded in, or you can choose another, and your software will recompress the video into your chosen delivery codec. Keep in mind that since most commonly used codecs are lossy, each recompression stage potentially degrades your footage even further, so you want to recompress as few times as possible.
A number of codecs are in common use today. Some are best for recording, and some are best for display, or watching video.
One of the most common codecs for watching video on a TV is MPEG-2. It’s the codec used for DVDs and for HDTV broadcast or cable. It also commonly used for some Blu-rays.
Codecs often used for display on the Internet are MP4 and H.264. These are highly efficient codecs which are often used for recording as well.
The most common codecs you’ll work with these days are:
H.264, MP4, AVC, AVCHD
These are all in the same family of codecs and work similarly. Most camcorders you will use record in one or more of these codecs, so the video you shoot will most likely be in these formats.

The codecs in the H.264 family are very efficient and can record very high-quality video into a relatively small file size, giving you a level of quality comparable to older professional codecs, but at a much smaller size, taking up far less space on your recording media such as SD cards. You can then record for longer periods of time and still enjoy a high level of quality.
Even though these codecs all work similarly, you have a wide range of options for how they compress video. The different options give you different advantages, so you'll choose the one you want to use according to your specific needs.
The video bit rate determines how much information is processed per second. The higher the bit rate, the more information per second, and the higher the quality of the video.
The bit rate largely determines the file size. A high bit rate can be very high-quality, but the file size will be much larger. A lower bit rate will produce a smaller file size, but the video quality will not be as high.
When recording your video, as long as you have adequate storage space, choose your bit rate based on the level of quality you needversus file size. If highest quality is most important to you, then you should choose a high bit rate. But if you need a longer recording time or smaller file sizes, you can choose a lower bit rate. It's a constant trade off, and you have to decide which level of quality is acceptable compared to the resultant file size.

Some cameras and NLEs give you the option to choose your color sampling, or the amount of color information retained in the video. Video you watch on TV or the Web usually uses 4:2:0 color sampling, which gives you very good color. But there are other options with more color information, like 4:2:2. You often want to choose to record your video this way if you’re going to do a lot of color grading or advanced post work like greenscreen (chromakey).
The higher color sampling will mean a higher bit rate and larger file sizes, so you have a choice between better color or smaller file sizes. When you export for people to watch your final video, you’ll usually want to use 4:2:0 if you have the option.
The topic of what those numbers mean precisely gets into the realm of advanced color science, and is beyond the scope of this article, so for now you can simply use these guidelines.
You want to make sure your NLE software supports the codec your camera records in. Professional NLEs like VEGAS Pro support all or most of the latest codecs, but some consumer-level or free NLEs may not. Native support of codecs is best. However, some software transcodes your footage into a different file type for editing. Transcoding is simply another term for encoding one file type into another using–you guessed it–a codec. And since that codec is likely a lossy codec, the transcoding step can diminish the quality of your footage even more. That's why native support is highly preferable. Make sure your NLE can handle the files from your camera natively for the highest quality results.
When deciding what compression to use when exporting, have your purpose in mind.
Streaming sites like YouTube and Vimeo have guides for optimal compression. Most often these services will want MP4 or H.264 at a high bit rate, usually 10,000,000 or more.
Exporting for optical disc like DVD or Blu-ray has strict requirements. DVD is always MPEG-2. Blu-ray may be MPEG-2, but H.264 is most common.
Remember, whichever codec and format you use, a higher bit rate usually means higher quality, and a lower bit rate means smaller file size. You should decide what balance of quality and file size is best for your purposes.

When it comes to codec support, VEGAS Pro is among the best. Edit natively in the latest codecs, unleashing the rich colors and stunning detail that today’s cameras offer, including High Dynamic Range (HDR) video. Leverage the latest workflows and the power of your graphics card to accelerate your playback performance and rendering speeds.
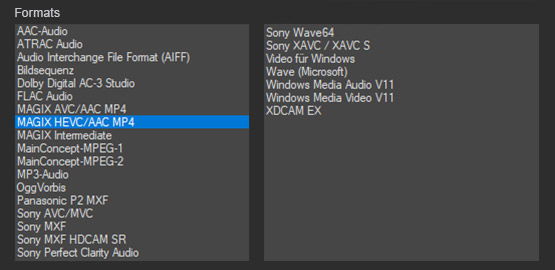
VEGAS Pro supports the H.264 family, including MP4 and AVC/AVCHD, and also supports cutting-edge codecs like HEVC, as well as common professional formats like XDCAM/XAVC and P2.
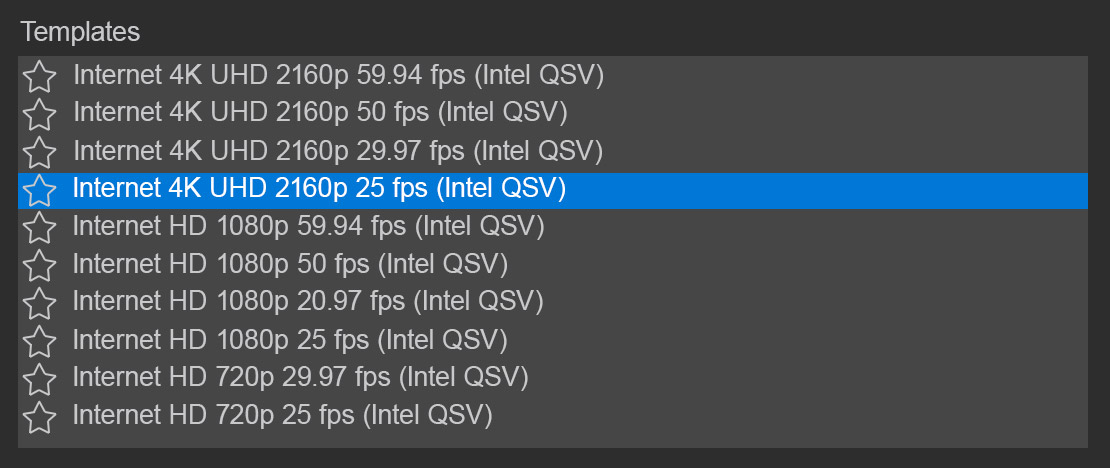
For export, take control of your video through extremely customizable render templates, allowing you to dial in exactly what you need. Whether it’s for streaming, optical disc, or even broadcast, VEGAS Pro has the tools to render to even the most exacting standards.
Take advantage of the latest render acceleration technologies such as Nvidia NVENC, AMD VCE, and Intel QSV, each of which unleash the power of your computer’s hardware for fast renders.

Leverage the power of your computer’s hardware for playback, scrubbing, and pre-rendering your timeline by using your graphics card (GPU) for acceleration. VEGAS Pro also harnesses the computing power of the most popular GPUs to speed up render times to the popular AVC and HEVC formats, making renders up to twice as fast. Hardware acceleration enhances support for higher-resolution files and other formats requiring heavy processing.

VEGAS Pro leads in HDR support, including native support for HLG and HDR10. Combined with powerful, professional color grading tools in the new unified Color Grading panel, the HDR support in VEGAS Pro lets you produce stunning color work for the perfect image, all in the latest ACES 1.1 color space.

Take your productions to the cutting edge of resolution with 8K. VEGAS Pro automatically generates proxies for editing, then uses the original 8K files for final rendering, providing end-to-end support for your high-resolution 8K workflow. Deliver stunningly high-resolution footage for super-large format projection, for FX, or any other high-resolution need.


What's the difference between VEGAS Pro and VEGAS Pro Suite?