
What you’ll learn:
How to improve the quality of green screen footage
Step by step: How to fix green screen footage?
Green screen and chroma key have been a mainstay of film and video for many decades. Productions shoot subjects in front of green screens and remove the color in post so they can replace it with a different background of their choosing. They put their characters in new worlds, create virtual sets for local news broadcasts, pop up video during sports broadcasts, and much more.
Good green screen effects rely on good technique, specifically, proper lighting of the green screen and proper lighting and placement of the subjects in front of the green screen.
But sometimes things go wrong. Don’t worry; VEGAS Effects has you covered. With Spill Suppression and the Matte Cleaner, you can rescue green screen footage and pull clean keys that you didn’t think you’d achieve.
In this tutorial, we’ll explore the Spill Suppression and Matte Cleaner tools in VEGAS Effects, and take you through the following steps:
Step 1: Spill Suppressor in the Chroma Key Effect
Step 2: Spill Removal Effect
Step 3: Matte Cleaner
Read on to find out more!
More than just a simple chromakey, green screen removal combines next-level spill suppression, matte cleaning, and auto-light-wrap capabilities with sophisticated 2D and 3D layering for composites so clean, your audience will never know your actors weren’t really in that amazing environment.
Useful Tips: Fix Uneven Lighting and Remove Unwanted Objects for Green Screen


Think about how green screens work. Green screens are generally cloth or paper backgrounds, or even solid walls painted green. The production lights the background so it’s bright enough, and so it has a uniform color throughout the background, instead of having bright and dark spots, such as from shadows. The green backgrounds are reflective surfaces, giving off green-colored light.
That green light shines on the subject in front of the green screen. That bit of green color on the subject is known as spill. It usually shows up most in white or light gray, or light colors like blonde hair.
When the editor or compositing artist removes the background, all of the green in the image is removed, and that includes the spill.
The result is parts of the subject being removed along with the background, or partial transparency in the subject.
Productions try to control spill through placement of the subject well in front of the green screen, but also through lighting. Bright backlighting can help control spill, and a standard hair light may help a lot. Gaffers also use Minus Green gels on back lighting, a magenta-colored gel specifically engineered to cancel out chroma green spill.
But sometimes spill makes it through to the final image, and the compositing artist has to deal with it in post. That’s where spill suppression comes in.
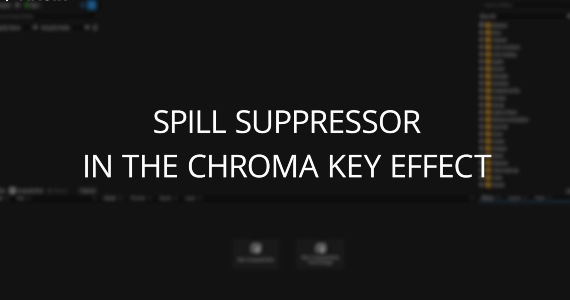
The Chroma Key effect has built-in spill suppression which is applied automatically, but you can tweak and adjust it for the perfect key.
✓ Create a new Composite. Import your greenscreen clip in the Project Media window. Drag your clip to the timeline.
✓ In the Effects window, open the Keying folder. Drag Chroma Key and drop it on the clip on the timeline.
✓ In the Composite window, click the triangle next to Chroma Key. Then click the triangle next to Spill Suppression, then the triangle next to Spill Replacement.
✓ Under Spill Suppression, the Amount automatically starts at 100% suppression of the key color. It’s best to apply as little as possible yet still fully suppress the color, so lower it as needed.
✓ Adjust the Hue Range to widen or tighten the range of color Spill Suppression affects.
✓ Adjust the Balance and Hue Balance as needed.
✓ Under Spill Replacement, choose the color which replaces the green spill. The default color is neutral gray, but you can change it to the color you prefer. Adjust the Luminance Change value to make the color lighter or darker.

If the built-in Spill Suppressor in the Chroma Key effect doesn’t fully suppress the spill, you can add additional spill suppression with the separate Spill Removal effect.
✓ In the Effects window, in the Keying folder, click the triangle next to Matte Enhancement. Click Spill Removal and drag it to the clip on the timeline.
✓ The Screen Color is set to Green by default, but if you used a different color screen, like blue, change it to the correct color.
✓ The Strength value starts at 1.00, or maximum, but lower it as much as possible while still maintaining full suppression.
✓ At default, the Suppression Type is Extended, but toggle between Extended and Standard to see which works best.
Sometimes you have to deal with green screen footage that’s especially messy, with uneven lighting and a lot of spill. Or, the video may be highly compressed and show a lot of blocky compression artifacts in the background color. These kinds of artifacts can make it difficult to get a clean key, because the block artifacts affect not only the evenness of the color background, they can result in blocky edge lines on your subject. In that case, the Matte Cleaner may help.
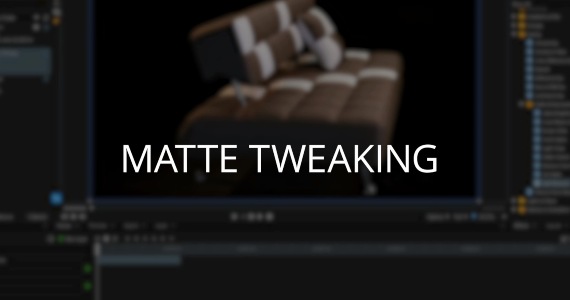
The Matte Cleaner has three controls, and you should generally use them in this order.
✓ Go back to the Matte Enhancement folder. Drag Matte Cleaner and drop it on the clip.
✓ Smooth adjusts the sharpness of the matte, smoothing out blocky edges.
✓ Feather adds a blur to the edge of the matte, which can also help smooth out rough edges. But it also makes the edge partially transparent, and unlike Smooth, it will extend outward beyond the edge of the matter, bringing some of the background you keyed out back in.
✓ Choke adjusts the size of the matte, expanding or contracting it.
✓ Sometimes it helps to see only the matte and not your image. Click the View Matte checkbox, and you see your matte in black and white. Black represents transparency, while white represents opacity. Blocky edges are easy to see, and the results of smoothing and blurring are easier to see as well. Gray areas in between will be partially transparent. Generally speaking, for a good, clean matte, you want smooth edge lines and as little gray as possible.

What's the difference between VEGAS Pro and VEGAS Pro Suite?