What you’ll learn:
What is motion blur and why do filmmakers use it?
You might have heard the term “motion blur” before. You might have even seen a motion blur effect tool in your editing software, such as VEGAS Pro. But what exactly is it, and what’s it for?
Simply put, motion needs some degree of blur to look natural. Sometimes, the video we’re working with doesn’t have enough blur for that natural look. Or other times, we’ve created animations or moving text, and it looks strange against our video footage. Why is that, and what can we do about it? Read on and find out!
In this tutorial, we’ll take you through the following topics:
1. Motion Blur Explained
2. Motion Blur and Natural-Looking Movement
3. Motion Blur in Post-Production
And when we’re done, you’ll have an understanding of what motion blur is, why it’s useful,
and reasons to add motion blur in post-production.
Motion blur is the blur seen in moving objects in a photograph or a single frame of film or video. It happens because objects move during the time it takes to expose the photo or the frame, and the movement gets recorded as a blur.
In photography and video, motion blur is a function of shutter speed, the length of time the camera iris is open and exposing. A slower shutter speed exposes for a longer period of time, so moving objects move further than they would with a faster shutter speed, and they blur more. By contrast, a very fast shutter speed may expose so quickly that even quick-moving objects have no blur at all.
The amount of blur makes a difference in how we perceive motion.
Imagine old-time stop motion effects, a time-honored filmmaking technique. Stop motion artists created a physical scene with models and puppets, then took a single frame of film. They then manipulated the scene, changing only a very little bit, and took the next frame. They would continue changing the scene and taking frames until they had created their entire sequence.
When played back at 24 fps, the individual frames made up a full-motion sequence.
But there was always a problem. Because each frame was exposed as a still image of non-moving objects, there was no motion blur. Without a motion blur, the movement looks choppy and artificial. It wasn’t a matter of budget or skill. You’d see choppy stop-motion animation in the cheapest of B movies and in the most expensive of blockbusters. It was a matter of process. No motion blur meant unavoidable choppiness in the movement. Only fairly recently have stop motion artists begun to add digital motion blur to their images. But as they have done so, the movement in stop motion sequences has begun to look much more natural.
The same effect happens in video footage taken at a fast shutter speed, so fast that moving objects have no blur. The movement looks strange to our eyes, and though we may not be able to place exactly what’s wrong, it’s the absence of blur making the movement seem somehow harsh or unnatural.
Natural-looking movement requires some degree of blur. Not too much blur – if you have too much, then you have visible streaks or a ghostly appearance. But enough blur to make the motion seem much more natural.
There are two types of natural motion we’re used to seeing in film and video.
First, there’s the totally natural look of high frame-rate video, such as 60 fps video. This is the “video” look that some people talk about, the “live” look you’re used to with news or sports or older video cameras or what is famously known as Soap Opera effect. The movement seems very close to what we see every day in the real world. There are a lot of frames per second, so the movement is more like what we see with our eyes. But also, most of the time, the shutter speed of 60 fps video is 1/60, or the same as the frame rate. A frame lasts 1/60th of a second, and it’s exposed for 1/60th of a second. In a sense, the camera is always exposing, so for every frame of 1/60th of a second, we get a full 1/60th of a second in movement. The blur is exactly right for very natural motion.
The other kind of motion we’re accustomed to is cinematic motion. This is the look we associate with film, with movies, and TV dramas. It’s not the “live” look of video, it’s definitely something more surreal, not like what we see with our own eyes every day. Yet, it still appears to be natural, pleasing movement.
Cinematic movement is a bit different from “video” movement in two important ways. First the frame rate is slower, so instead of 60 movements per second, we’re only seeing 24, leading to a slightly more staccato movement. That accounts for most of the difference in motion between film and video, but there’s still another factor. While the shutter speed of video generally matches the frame rate, and each video frame is exposed for its entire duration, with film, that’s not usually the case. With film, each frame is usually exposed for half of its duration. In other words, a frame which lasts 1/24th of a second is exposed for 1/48th of a second. This means the frame rate and the motion blur aren’t exactly matched, and the effect is a different feel of motion. There’s also slightly more blur in 1/48th of a second than in 1/60th of a second, so the overall effect makes cinematic movement feel very different from that “live” feel of 60 fps video.
You usually wouldn’t want to expose 24 fps film with a shutter speed of 1/24th of a second, because the blur would be too much, and the streakiness or ghostly images we mentioned would start to appear.
So what does this mean for video editing? A few things.
Most professional video editing and effects software like VEGAS Pro lets you add motion blur in post. For most footage, it isn’t necessary, because most of the time, the footage was shot with the proper shutter speed, or at least the desired shutter speed. There’s no need for additional blur. But if some footage was shot with a high shutter speed, such as when a camera with auto shutter speed adjust records in very bright light, it may have that unnatural or choppy-looking motion we mentioned. Adding some motion blur to that kind of footage can help make the motion look more natural.
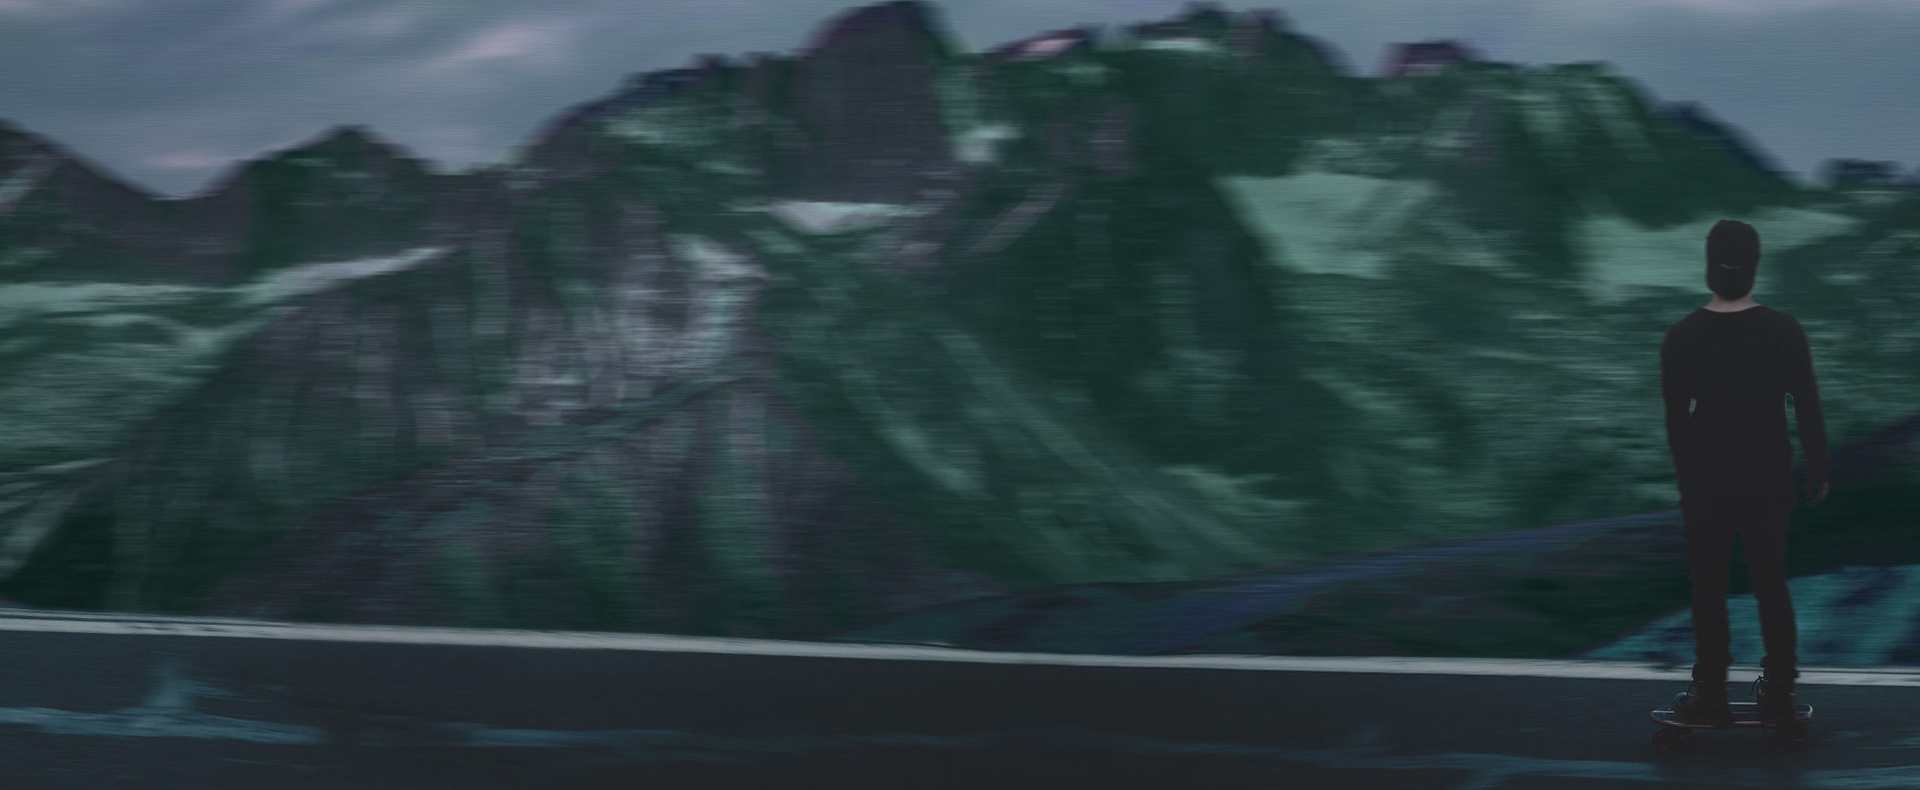
But the chief reason to use motion blur is with text or graphic animations you add in post. It could be moving text like credit rolls or text pinned to a moving object. It could be animated transitions or motion graphics like lower thirds or cartoon figures. It could also be animated 3D graphics, or even pans or zooms across still photographs.
If you go frame-by-frame on the timeline in any of these animated elements created in post, you’ll see that each frame is a crisp still image with no blur. As we described, the absence of blur can lead to unnatural, choppy, or at least mechanical-looking footage. If we want the movement to be more natural, especially if we’re using it as an overlay with footage which has motion blur, we want to add a bit of motion blur.
Adding motion blur puts the slight blur into each frame we’d see if we had shot the movement with a camera. If you have text pinned and motion-tracked to someone’s hand moving in your image, you can add motion blur to the text’s movement which matches the blur of the moving hand, and make the image more natural and cohesive.
Or, if you want your 3D animated model to seem like it exists in the world of your video footage, adding a matching motion blur can help make the illusion seamless.
Experiment with motion blur. You may get exactly the natural motion you’re looking for, and who knows?
You might find an artistic look that works great for your project. Try it out, and have fun!


What's the difference between VEGAS Pro and VEGAS Pro Suite?