What you’ll learn:
Understanding motion tracking and stabilization
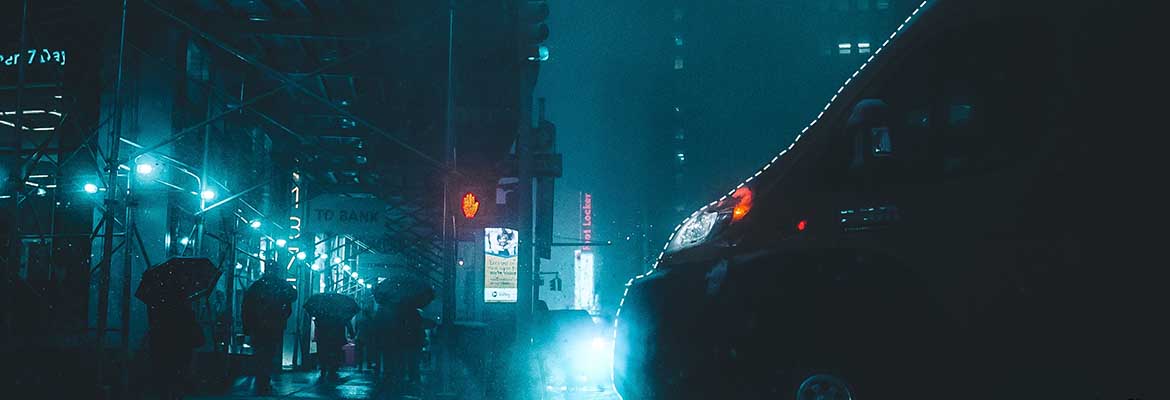
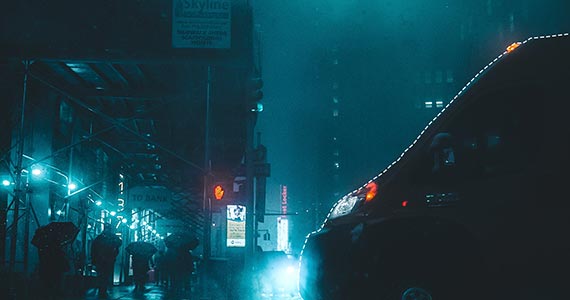
Imagine you’re editing a movie, and you have a shot where the camera dollies into a room with a TV on the wall. That TV isn’t on, but you’d like to put video on the TV screen. In a stationary shot, a simple Picture-in-Picture would suffice. But you have two problems – not only does the camera movement mean the TV doesn’t stay in one place, you also see some vibrations and bumps from the dolly track. VEGAS Pro has you covered. With its incredible new Video Stabilization plugin and motion tracking through the Bézier Masking FX, bringing that blank TV screen to life takes just a few steps. Read on to find out how!
Your first task is to get rid of the bumps and shakes. The best way to do this is to apply the Video Stabilization plugin. You can apply it at the event level to the clip in the timeline, but in this case, it’s best to do it at the media level, because you’ll be adding specialized FX at the event level later, and it’s best to have the stabilization “baked into the cake” before you add those other FX to the event.
Right-click the clip in the Project Media window and choose Media FX from the context menu. In the Plug-in Chooser, select VEGAS Video Stabilization from the list of effects. Click the Add button, and then click OK. The Media FX window opens.
For this example, we’ll do Basic stabilization, which is the first option to pop up. You have many advanced stabilization options available, but Basic stabilization works well for most video, and definitely for our use here. Click Stabilize, and VEGAS Pro analyzes the video and stabilizes it. No more bumps and shakes!
You can now add the clip to timeline, shake-free, and you can edit and trim it at will.
With the VEGAS Pro motion tracking tools, you can track an object as it moves through your video screen. Follow the object even as it changes perspective. Then, pin another video or text to the tracked object so that it follows the object on its path through the video screen. This way you can easily attach a text label to a moving object, or superimpose a different video over the face of the moving object.
In this example, we’re just adding rectangular video to a rectangular screen of the same size and shape. Far more complex combinations are possible! But for this illustration, we’ll keep it simple. Drop the clip onto the timeline and trim it as desired. Now, double-click on the clip to create a loop region around it, and set the cursor at the beginning so that you’ll be working on the first frame.
Drag the Bézier Masking FX from the Video FX window to the clip. Use the Default template.
You’ll see in the Preview window that the effect has already created a rectangle mask, so the center of your image is visible, but the rest of the image is cut out, either showing black or the video layer below it.
You’ll want to be able to see the whole image while you work, so in the Video Event FX controls, slide the Blend slider over to bring up the rest of the image to about .500, letting you see the whole image, but also the mask area.
Click the triangle next to Mask 1 to reveal the mask controls. Click on the Type drop-down and choose Curve. Two things will happen – the rectangular mask in the Preview window will disappear, and the rest of the controls will grey out. That’s OK for now.
Drag your mouse cursor to the Preview window. It will change to a pen tip cursor. Click on a corner of the TV screen to set a point. ;Click on the other corners in order to create a rectangular shape matching the TV screen. Click on your first point to close. You’ll now see a rectangle filled in with dots. You’ve set your mask area! Now it’s time to set up motion tracking.
We’ll use the Picture-in-Picture FX plugin and scripting to add the video to the TV screen. But first, create a new video track above the dolly shot and add the video you want on the TV screen to that track. Trim the clip so that it matches the in and out points of the dolly video.
Right now, your video covers the whole frame in the Preview window, but when you add the Default Picture-in-Picture FX plugin, the video immediately shrinks to the center of the screen, revealing your dolly shot underneath.
Make sure the timeline cursor is at the first frame of the clip. In the Picture-in-Picture FX controls, change the Mode to Free Form in the drop-down. In the Preview window, use your mouse cursor to drag the white corner points of your video to the corresponding corners of the TV screen.
Your picture is now on the screen, but that’s only for the first frame – we still need to pin it to the moving TV.
We’ll now use a script to pin the video to the TV screen. Select both video clips. Go to Tools>Extensions and choose Copy Motion Track to PiP. VEGAS now applies all of the Bézier Masking keyframes to the Picture-in-Picture effect. Play the clips on the timeline, and voila! You’ve replaced the blank TV screen with your own video!
You can now tweak the result by adding feathers to the PiP or to the Bézier mask; you can subtly adjust angles, or adjust exact points on the keyframes. You can also add other FX like color correction, Add Noise, Auto Looks, TV Simulator, etc., for increased realism or style.
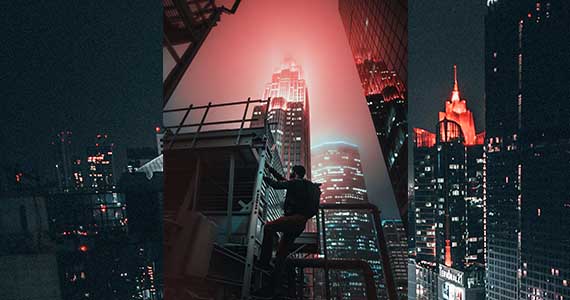
As we mentioned, this is only the very tip of the iceberg with what you can do with motion tracking in VEGAS Pro. Replace billboards. Add posters or neon signs to the sides of buildings in moving city scapes. Create incredible sci-fi effects like heads-up displays or floating text. VEGAS Pro gives you the power to unleash your imagination!


What's the difference between VEGAS Pro and VEGAS Pro Suite?