One of the most exciting recent developments in video is the ability to produce immersive 360° video environments, which viewers can manipulate and explore in any direction. Got some 360° video but not sure where to begin editing it and delivering it to your audience? Don’t worry; we’re here to help. VEGAS Pro makes editing and rendering 360° video simple and easy, and in this tutorial, we’re going to take you through what you need to know!
In VEGAS Pro, we’ll follow these steps:
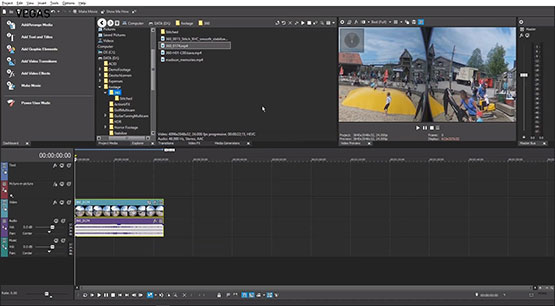
STEP 1: Import Video
STEP 2: Project Settings
STEP 3: 360° Mode in Video Preview
STEP 4: Stitch Video
STEP 5: Angle of View
STEP 6: Stabilization
STEP 7: Text
STEP 8: Render
When we’re finished, you’ll see how easy, straightforward, and fun it is to edit 360° video in VEGAS Pro.
Read on for the details!
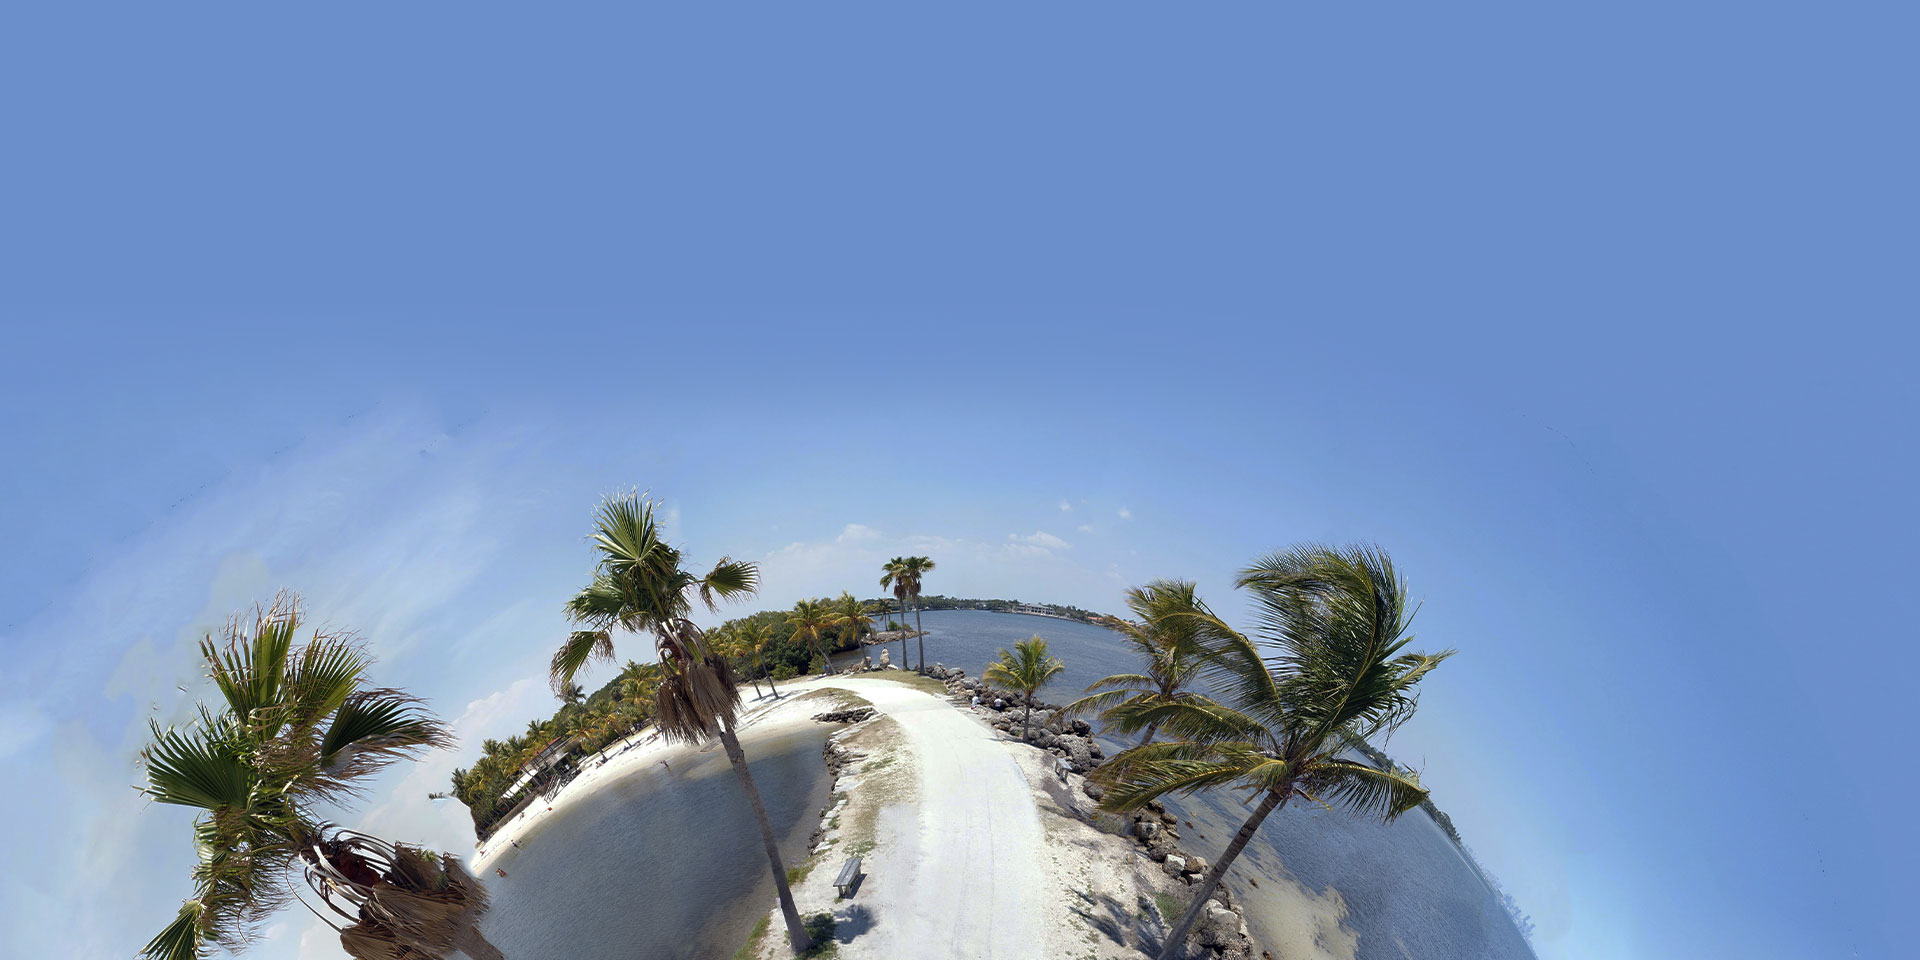
VEGAS Pro offers powerful 360° editing.
Editing 360° video is just like editing any other kind of footage, with a few additional features. Anything you’d do while editing normal footage, such as color correction, video effects, and much more, you also do with 360° footage. In that sense, not much is different. But you do need to keep in mind how to set up your project and work within the 360° field. Let’s explore that now.
VEGAS Pro will recognize 360° footage from the most popular cameras, so the project should automatically be set to 360° to match the footage.
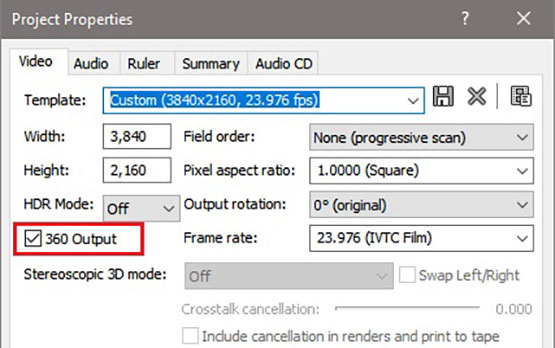
✓ But if the project settings did not change to match the footage, click Properties in the toolbar. The Project Properties window opens.
✓ Click the 360 Output checkbox to enable 360° editing. Change any other parameters as necessary to match your footage. Click OK.
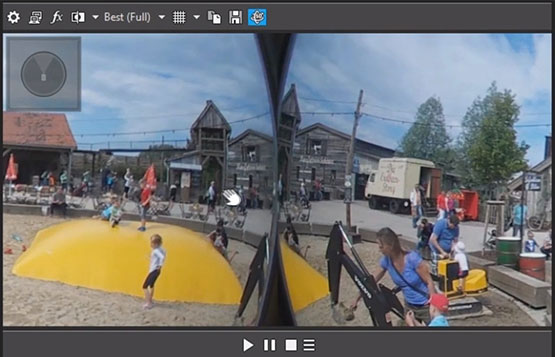
Once in 360° editing mode, note the changes in the Video Preview window. A new 360 button appears and is active. Your footage appears in the preview window.
✓ Move the mouse cursor over the window and the cursor changes to a hand.
✓ Grab your footage and move the mouse any direction to pan around your video in 360° space.
✓ Click the 360 button to toggle between the 360° preview and the normal preview, but for the most part, you’ll leave the 360 button active.
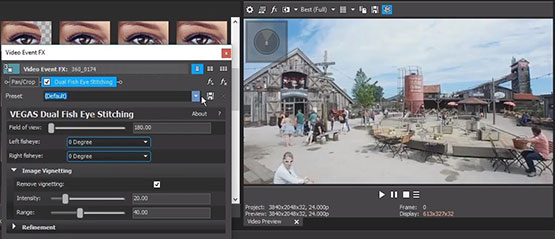
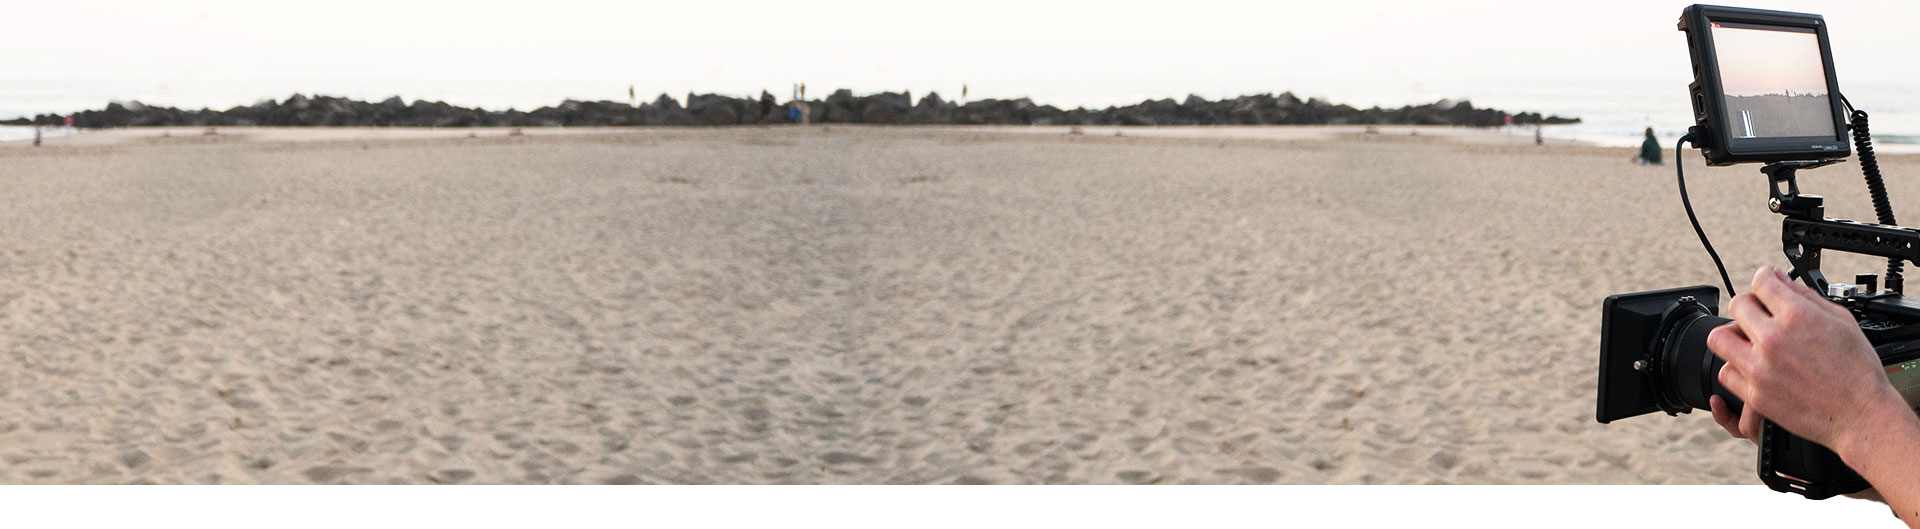
VEGAS Pro should stitch your 360° fisheye video automatically, but if it doesn’t, you can do it manually.
✓ In the Video FX window, click Dual Fish Eye Stitching. In the Preset pane, a Default preset thumbnail appears, and also thumbnails for presets designed for specific 360° cameras. If your camera is not one of the presets, drag the Default preset and drop it on the video event.
✓ The Video Event FX window opens and the Dual Fish Eye Stitching controls appear. In the Video Preview window, note that your footage has been stitched, but you can further adjust the parameters in the controls as needed to get the best possible stitching effect.
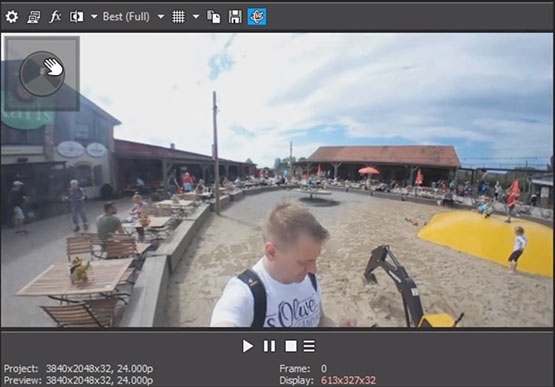
Move your mouse cursor to the Video Preview window. Pan the video around a little bit until it’s at an angle you like.
Note the Angle of View indicator in the upper left of the preview. The light gray wedge inside the circle indicates your direction of view inside the space. Pan the video, and the angle changes.
✓ Scroll your mouse wheel to widen the angle of view or to make it narrower.
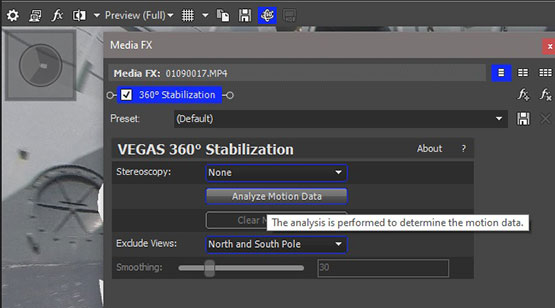
If your footage is a little wobbly, you can add stabilization. However, you must add it at the media level and not the event level.
✓ In the Project Media window, select your media clip. Click the Media FX button. The Plug-In Chooser – Media FX window opens.
✓ Double-click 360° Video Stabilization. Click OK.
✓ The Video Media FX window opens and the effect controls appear. Click the Analyze Data button. VEGAS analyzes the footage and applies stabilization.
✓ When it is finished, play your footage to see the results. Adjust the Smoothing slider if you feel you need more stabilization.
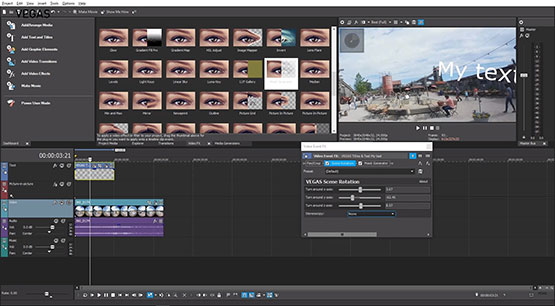
You can add text within your 360° environment.
✓ Go to the Media Generators window. Click Titles & Text.
✓ In VEGAS Pro, drag the Default preset thumbnail and hover it just above your video event. A small rectangle appears at the top of your video event. Let go of the mouse button, and a new video track opens above your existing video track, containing your text event. Your text appears in the Video Preview window over your 360° footage.
✓ The Video Media Generators window opens and the VEGAS Titles & Text controls appear. Make whatever adjustments you want to your text. Close the Video Media Generators window.
✓ Go to the Video Preview window and pan your video. The text pans along with the video. Pan to the left, and the text disappears off the left side of the preview. Pan all the way around, and the text reappears from the right side of the preview.
You can further adjust the location of the text in your 360° space.
✓ Go to the Video FX window. Click Scene Rotation.
✓ Drag the Default preset thumbnail and drop it on your text event. The Video Event FX window opens and the effect controls appear.
✓ Adjust the parameters until the text appears exactly where you want it in your 360° space. Note that you cannot place the text on the seam of the video stitching.
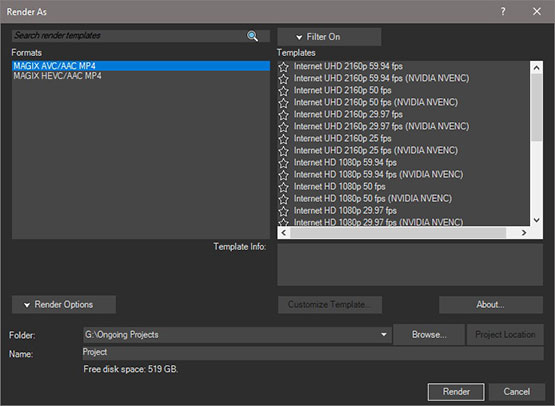
Once you’ve done all the editing you want, it’s time to render.
✓ In VEGAS Pro, click Render As. The Render As window opens.
In VEGAS Pro, in the Formats pane, the only available options are MAGIX AVC/AAC MP4 or MAGIX HEVC/AAC MP4, because these are the only formats you can use for 360° footage. Choose the format you want. Then choose the template which matches your footage in the Templates pane.
✓ Click Render. VEGAS renders your 360° footage, suitable for sharing or uploading to a streaming service which can stream 360° video.


What's the difference between VEGAS Pro and VEGAS Pro Suite?