
What you’ll learn:
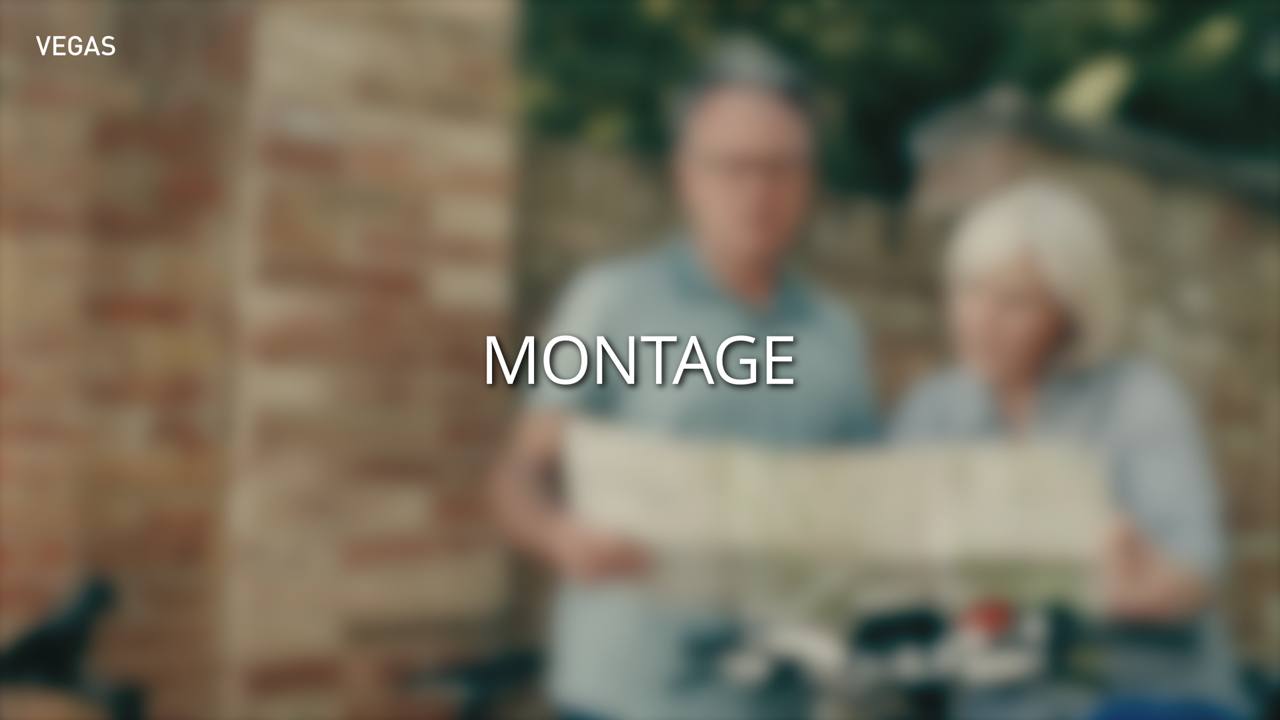
In the world of video, moving images reign. Of course they do, it’s video! But that doesn’t mean there’s no place for still images. With a little creativity and the Slideshow Creator in VEGAS Pro, quickly and easily turn a presentation of still images into a fun, imaginative, animated sequence which will engage family, friends, clients, and business associates. Dazzle and delight your viewers with a video montage worth remembering!
In this tutorial, we’ll cover what a video montage is, how it’s best used, and how to make one in VEGAS Pro.
Using the Slideshow Creator, we’ll go through the following steps:
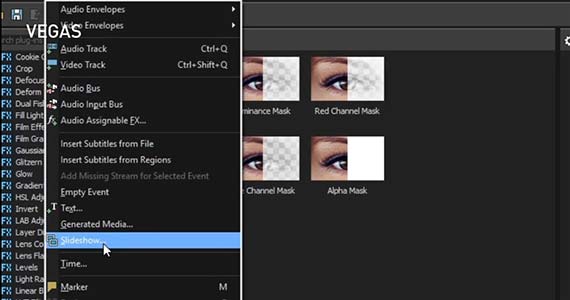
Step 1: Open the Slideshow Creator
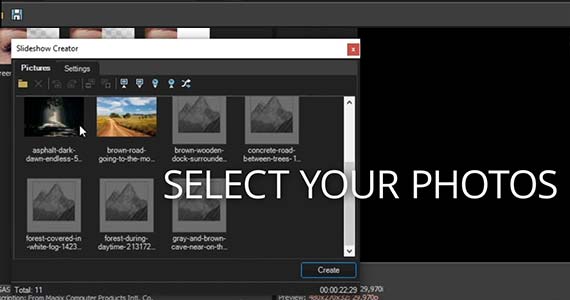
Step 2: Select Your Photos
Step 3: Adjust Your Photos
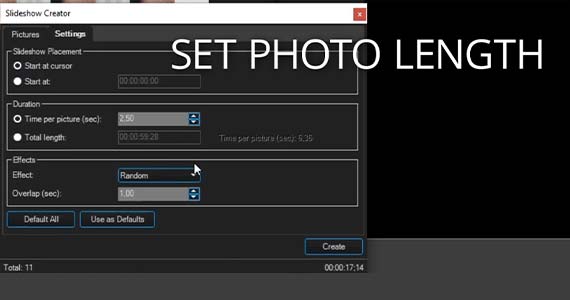
Step 4: Set Photo Length
Step 5: Set Transition Style
Step 6: Add More Photos
Step 7: Re-Edit the Slideshow
Step 8: Add Music, Sound and Other Effects
Read on for an in-depth look into video montages and creating your own amazing montage sequences using the powerful Slideshow Creator in VEGAS Pro!
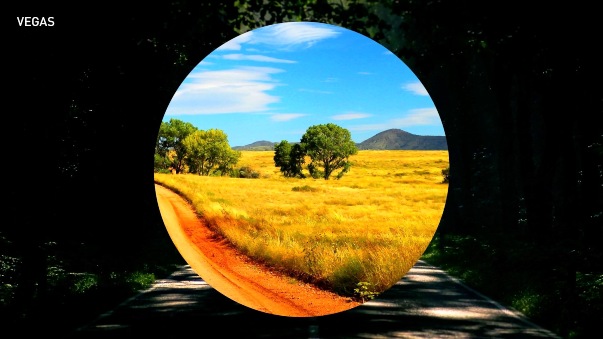
A video montage displays a succession of (usually) still images in a dynamic, energetic way. Instead of a progression of boring still images, like your uncle’s slideshow of a trip to the safari, montages show photos in motion, with animation, transitions, sounds, and other effects. A video montage can be a great way of presenting stills of a birthday party, the bride and groom growing up, a family reunion -- or in a professional setting, workplace photos, workplace functions, charity events, wrap parties, or anything else where a lot of pictures are taken.
Useful Tips: Add Credit Rolls to Your Video
A montage doesn’t just display the pictures. The pictures move across the screen in planned and meaningful ways, with transitions between them which can range from whimsical to very professional. Most effective montages are set to music, and really artistic and creative montages also employ visual effects beyond the animation and transitions, as well as sound effects for a totally immersive experience.
You can create video montages manually in almost any video editing software, but some software includes tools specifically for generating a montage automatically.

VEGAS Pro features the Slideshow Creator, a powerful tool for creating montages quickly and easily. Just choose and arrange the photos you want in your montage, set a few parameters, and the Slideshow Creator does the rest. Follow along for an in-depth look at creating montages in VEGAS Pro.
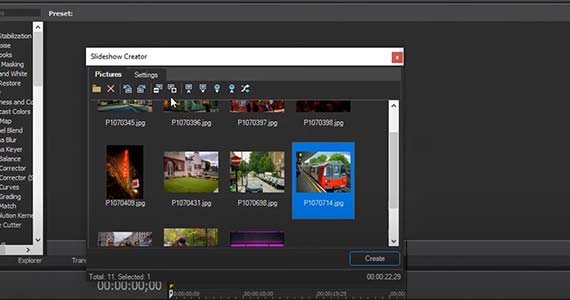
✓ Click and drag any images to rearrange the sequence. Click Sort A to Z or Sort Z to A to arrange the images in alphabetical or reverse alphabetical order. Click Sort New to Old or Sort Old to New to arrange them in chronological or reverse chronological order. Or click Shuffle to arrange them randomly.
✓ Select any image or images. Click Move Selected -1 to move the image or group of images one image to the left, or ahead in the sequence. Click Move Selected +1 to move the image or images one image to the right.
✓ Click Rotate Counterclockwise or Rotate Clockwise to rotate selected images.
✓ When you’re satisfied with the arrangement of your images, click the Settings tab.
✓ Under Slideshow Placement, at default, the slideshow will begin at the timeline cursor, but you can enter an exact point on the timeline for the slideshow to begin.
✓ Under Duration, set the length you want each photo to be on the screen. Or, set an overall length for your slideshow, and the Slideshow Creator will automatically adjust the duration of each photo to fit within the total length you define.
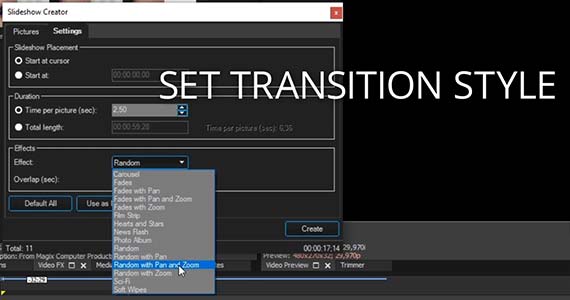
✓ In the Effects box, click the Effects drop-down menu. Select a transition style from the list. There are many different transitions to choose from. Some styles include additional animation like a Pan, a Zoom, or both. If you choose a specific style, every transition will be in that style. Choose one of the Random selections for random transitions.
✓ Choose an Overlap value to define the length of transition between images.
Now, you’re ready to create your montage.
✓ Click Create, and the montage sequence appears on your timeline at the cursor, or at the time you chose. Play through it to see if it’s exactly what you want!
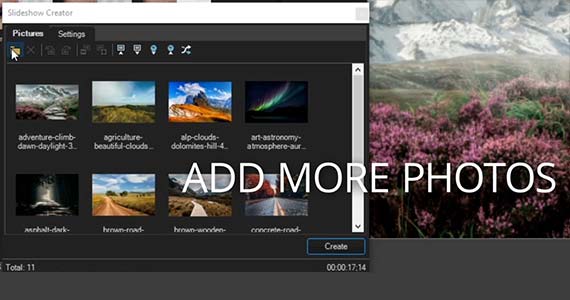
✓ To add more images, click the Add Pictures button.
Navigate to the folder containing your images and select them as before. The new images are added to the end of the sequence in the Slideshow Creator. You can then arrange them within the sequence just as you did in Step 3 above.
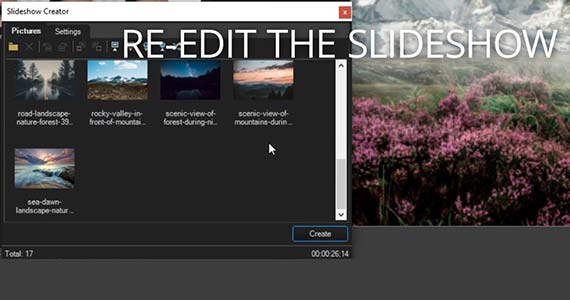
Whether or not you add more photos, you can re-edit the sequence in the Slideshow Creator. Rearrange the images, change their lengths, change the transitions, whatever you want.
✓ If you make changes to the slideshow sequence, including adding more photos as above, select and delete the original slideshow from your timeline and set the cursor back to your desired start point. Click Create. The new, re-edited sequence appears on your timeline in place of the old.
You can also re-edit the sequence manually on the timeline. Replace any images. Change any transition manually. Change the length of any image or transition. Add or insert new images.
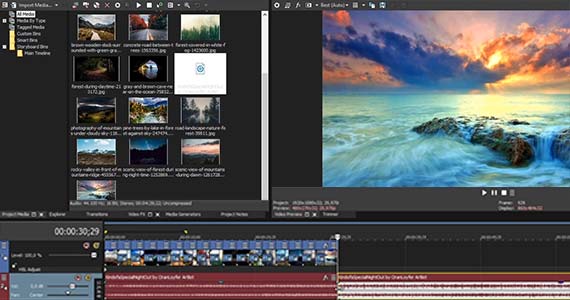
Of course, on the timeline, you’re free to add anything else. At a minimum, you’ll certainly want to add some music and sound if the sequence is going to be part of a dynamic video. Add music appropriate to your images, whether it’s festive, happy, somber, or solemn.
Add sound effects to emphasize transitions or to add punch to images. For example, add a swoosh sound for certain animated transitions, or maybe add a cork pop if there’s a photo of people opening champagne. Use your imagination – a creative video is an engaging one!
You can also add any visual effects to the photos. Adjust their color. Add blurs or any other effects. You can still crop and pan the images manually using the Event Pan/Crop tool. The sky is the limit; get as creative as you want and as your imagination allows!


What's the difference between VEGAS Pro and VEGAS Pro Suite?