
What you’ll learn:
9 Video editing tips
You’re ready to take your video editing to the next level and start producing professional-level work. Here’s a guide to help you start editing like the pros.
Professional editing comes down to planning and attention to detail. While every production is different, and your needs will vary from project to project, the following are the basic steps professionals follow when editing.
A good plan is essential to professional editing.
Any good video tells a story. A story has a beginning, a middle, and an end. Plan your story and how you’re going to tell it. You should do this before you ever shoot, in the form of a script, but if you didn’t, now is the time to make a plan.
Plan for consistent use of colors, transitions, titles and fonts, musical cues, sound effects, and everything that goes into a video. Know what your finished video will look like before you start editing.
Media management is one of the keys to professional editing. Efficient editing means keeping your media organized and easy to find.
During the import process, make note of each video element and how you plan to use it. Professional productions keep shot logs during the shoot, so work from that if available. Take note of the takes/shots marked as good and usable during production.
Import what you need and leave what you don’t. Arrange your media into bins – organize media logically by type, by scene, or whatever organization system works best for you and your project.
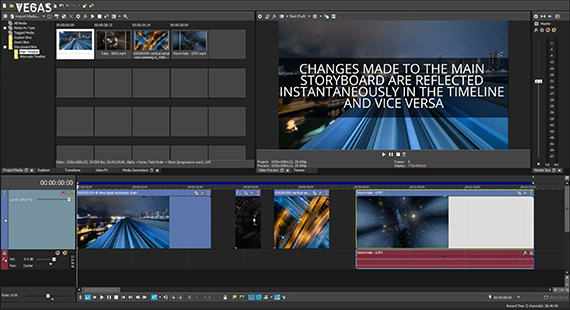
Organize your footage into a rough edit. Non-linear editors (NLEs) with storyboard functions make rough cuts quick and easy.
Being non-linear, you don’t have to edit your project in sequence from beginning to end. If you decide to work on scenes or sections separately, NLEs offering nested timelines make it easy. A great way to keep your timeline tidy and efficient, you can place your scenes on the main timeline as single media events, but you can still go back into the scene to change things if needed.
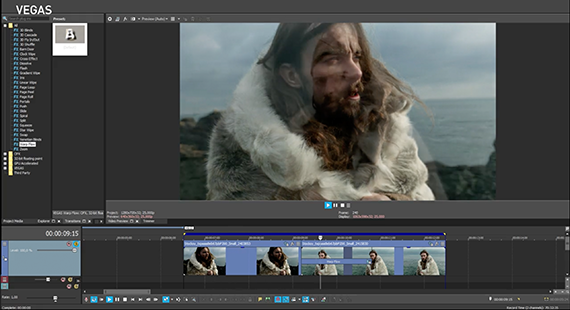
Once you have a rough edit in place, start fine edits. Perfect the timing of your scenes, trimming media to get precise cuts. Get into and out of every scene as quickly as you can; make your point and move on. Linger too long, and your audience loses interest.
Effective transitions bring your cuts together smoothly. Most transitions are simple straight cuts and fades or dissolves. For visual interest, you can addanimated transitions like wipes or flashes, but use them sparingly, logically, and consistently. While animated transitions can emphasize important points in your video, avoid making them too flashy or distracting.
After your fine edits, you’re working only with the footage you need, making corrections and adding effects quicker and easier.
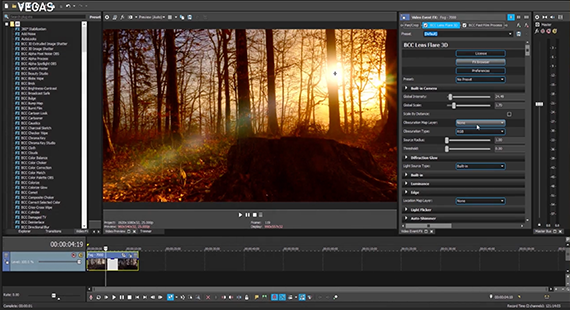
Correct any problems, like stabilizing shaky footage and correcting color.
For color correction or grading, use a well-calibrated professional monitor, or at least calibrate your monitor as well as you can. You must work with true colors and proper black levels, or you will not know if your color work is accurate.
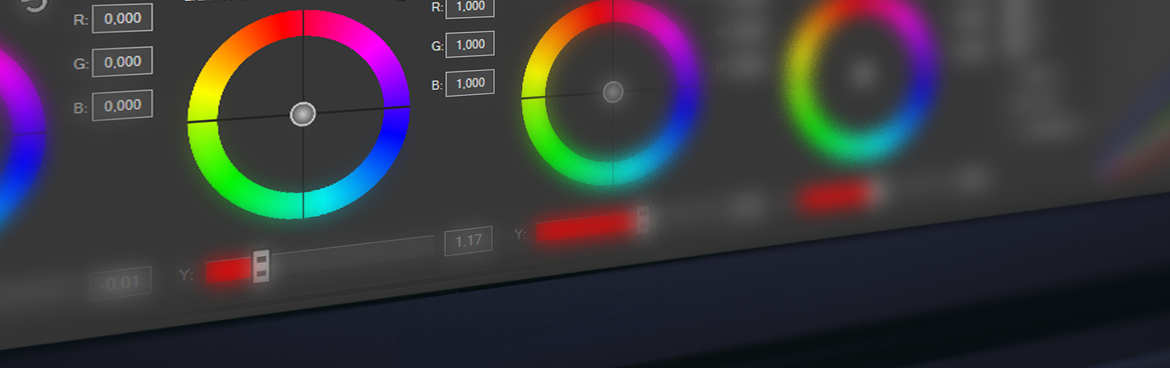
For correction, use color curves to correct brightness and black levels, and use color correction tools to bring your colors into proper balance and saturation. Use video scopes while correcting. Don’t trust your eyes alone.
Next, use color grading creatively to establish moods or differentiate elements in your video, such as using true colors for interview segments, and then moving to a colored tint or more extreme color look for re-enactments or dramatizations. Be creative, but be consistent. When applying looks, take advantage of NLE tools like savable color presets or exportable LUTs , which you can then easily apply to multiple clips.
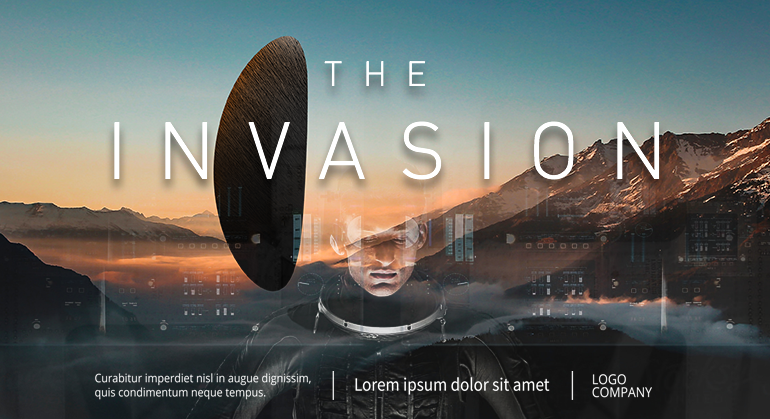
Effective use of text and titles can really elevate a video. Plan for consistent and logical use of text, including the types of fonts you use. Every project is different, but flashy or overly colorful fonts can look amateurish.
For text overlays on footage, a slight drop shadow brings the text out and makes it more readable.
Usually the last step, though you may add music or sound cues earlier in the edit to help with timing. Start perfecting audio when you’ve got all your visual elements in place.
Even out your sound levels for consistent volume. Use audio meters. Don’t trust your ears, especially if you’re editing scenes separately – using the meters is the only way to know for sure that you have consistent levels. Normal dialogue ranges from about -20 to -12 dB. Once you have your dialogue set, making the rest of your sound consistent is easier.
Clean up unwanted sounds like breaths or stutters, and use crossfades between sound clips to smooth out the transitions between them. Always fade into and out of your sound.
Apply audio tools like EQ to remove hiss and other problems. Many sound problems like echo or high background noise can’t be easily fixed, so make sure to record clean, strong audio so you don’t have to try to fix it in post.
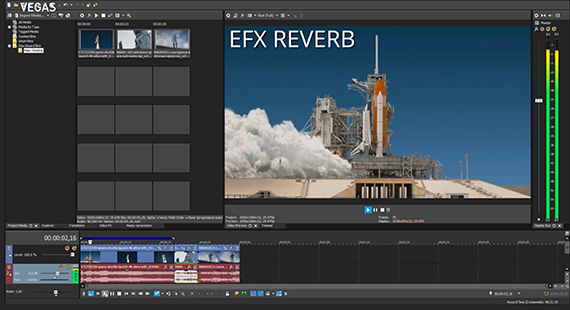
Now add music and sound effects, keeping their volume consistent within a well-mixed sound field.


VEGAS Pro has everything you need for professional editing. Take advantage of excellent media management tools and powerful Storyboards. The new Unified Color Correction panel brings all your color grading tools together into one convenient window. Create professional titles, and leverage visual effects tools right on the VEGAS timeline, with no need to go to outside software. Polish your soundtrack with world-class audio tools. And because professional editing is often done with others, utilize the new Collaboration Center for communication with other members of your team. VEGAS Pro is your solution for professional work.


What's the difference between VEGAS Pro Edit, VEGAS Pro Suite and VEGAS Pro Post?