
The widespread use of video is making itself felt on the Internet and especially in social media. From Instagram Stories and "IGTV" to Facebook's famous "Live stream" tool, the stage is set for video to have an impact on the way we consume content.
As more and more people take up shooting video and sharing it with their friends, or pursue filmmaking as a hobby or even a career, a lot of questions naturally pop up.
Some of them center around video formats:
- What is a video format?
- How do I choose the right format for my project?
- What format is best for sharing my video?
In this article, we'll shine a light on the topic and break down what you need to know when it comes to choosing the right kind of video format. Let's start with the basics.

When choosing a video format, you’re going to be choosing the characteristics of the video, and also the codec.
Characteristics of the video are qualities such as resolution, frame rate, or color information. A codec is the method of compressing the video and making it into a readable computer file. Most codecs can compress video of many different characteristics.

The frame size. The most common now are 1920 x 1080 (1080p, or “Full HD”) or 3840 x 2160 (2160p, or “UHD” or “4K”). Lesser-used, smaller resolutions include 1280x720 (720p, also an HD format), or 720 x 480 or 720 x 576 (“SD”). Higher resolution means more detail, and because it has more pixels, more color information.

Expressed as a number, such as “4:2:2” or “422,” the amount of color information per pixel. Most formats will shoot with either 4:2:0 or 4:2:2 color, with 4:2:2 having twice as much color information as 4:2:0.


The amount of information processed per second. Higher bit rates process a lot of information, allowing for higher resolution and better color. The bit rate is the factor which determines how large the file size will be per minute of video.

The number of shades of color the format supports. Common video is usually 8-bit, but some cameras will allow you to shoot in 10-bit or higher. 10-bit color has 4 times as many shades available per color as 8-bit.

A relatively new feature which allows for seeing detail both in very dark and very bright areas of your image.

The exact process for compressing and recording video, and then decompressing it for playback, is known as a codec, or “coder/decoder”. The codec is often the same as the file format, such as *.mp4 or *.avc. Common codecs are:
H.264, MP4, AVCHD
These are all in the same family and are similar to each other. Codecs are what the camera uses to know how to record the video, what your non-linear editing (NLE) software uses to read and play back the video files, and what a video player uses to play video. Your software must support the codec the video is recorded in order to play or edit the vide
When shooting video, you may or may not have a lot of control over what format you shoot, depending on the kind of camera you’re using.
A phone camera will usually give you a few choices: resolution/frame size (usually Full HD or UHD), frame rate, and possibly High Dynamic Range (HDR). It will usually record to a preset codec which you can’t change.
A video camera, including a DSLR, may give you many more choices.
You may get to choose the specific codec you want to record in. The main differences between codecs here will be file size, and whether you can access a lot of different options like frame rate, bit rate, color sampling, and bit depth. For example, if a camera offers a choice between AVCHD and MP4, chances are, AVCHD will be lower-quality and offer smaller frame sizes, while MP4 may offer larger frame sizes and more choices when it comes to frame rates, bit depth, and color sampling. You may also only be able to access certain frame rates with certain codecs.
The choice between formats when shooting usually comes down to quality vs. file size. The higher the quality – the higher the resolution, the higher the color depth, the higher the bit rate, using HDR – the larger the file size. Lower-quality video will usually have smaller file sizes.
You want high quality if you plan to do a lot of heavy editing with the footage, adding FX, doing color correction or grading, compositing/greenscreen, enlargements, reductions, picture-in-picture, etc. You also probably want higher quality if you’re planning to transcode the footage, i.e., convert it to another format – which you may want to do at the end of your editing. For that, you’ll want a higher bit rate, a higher bit depth, higher color sampling, and a higher resolution.
But high quality means larger file sizes, which means your media cards will fill up faster, and you will have shorter recording times. If you need to record for a long period of time without stopping, a lower-quality format may be your answer, especially if you only plan to do light editing or no editing at all. AVCHD files are usually already in the format most streaming services recommend for upload, so you will be able to deliver your footage with no need to convert to another format.
As for frame rate, choose it based on how you want your footage to look, what feel you want it to have. Do you want it to look live news or sports? Choose a faster frame rate like 50 fps or 60 fps. Do you want it to look fictional, like movies or TV? Choose a slower frame rate like 24 fps or 25 fps. As mentioned above, 30 fps is something in between.

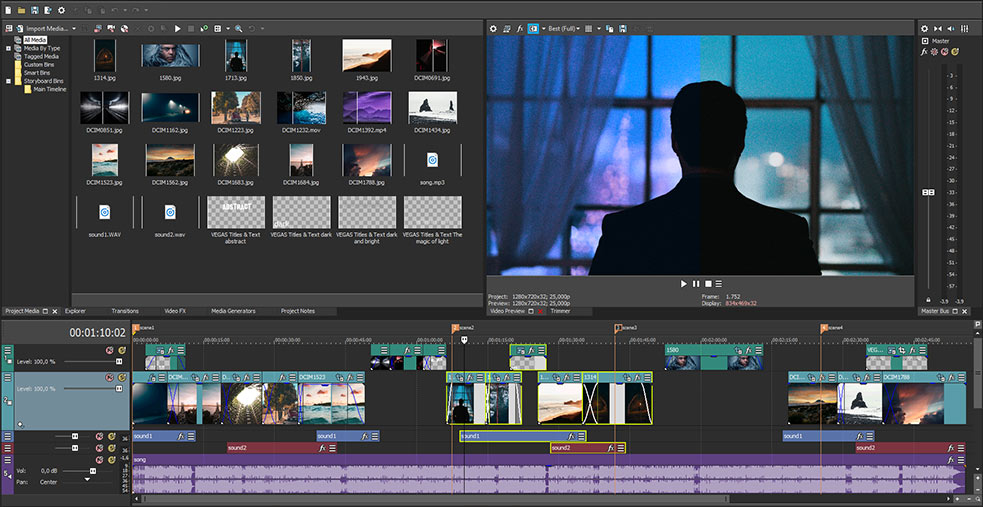
Most modern NLEs such as VEGAS Pro support the latest, most common codecs. Because they do, you’ll be able to edit the footage you shoot natively, without having to convert to another format. So, you don’t have to choose a codec for editing.
You do want to choose timeline properties which match your footage – resolution and frame rate – but most NLEs will conform the timeline automatically to the first media clip you place on it.
If you don’t need to edit at all, and just want to transcode your footage into the format needed for sharing, you can do that, too. Just put the footage on the NLE timeline, and then go right to export.
No matter what format you choose to shoot with, and no matter what editing you did to the footage, your NLE will give you a full range of format options and templates for export.
In order to know what to choose for export, you must know how your audience will watch the video. Are they going to watch it online such as on YouTube or Vimeo? Are you going to stream it through Facebook or Instagram or other social media? Are you going to give your audience DVDs or Blu-ray discs? Or are you just going to give people video files for them to watch on video players? Each one has specific requirements.


The most common online streaming sites prefer MP4 files. Both YouTube and Vimeo list their recommendations for creating files for upload to those sites.
YouTube prefers the H.264 codec with the *.mp4 format extension.
Vimeo prefers H.264 files with either *.mp4 or *.mov (Apple QuickTime) extensions. They will also accept advanced, professional codecs such as ProRes422 (HQ) and H.265 (HEVC).
For either, you want to use a high bit rate, at least 10,000,000 to 20,000,000 for 1080p, or 30,000,000 to 60,000,000 for UHD video, especially if you’re using a fast frame rate like 60 fps. The higher the bit rate, the higher the quality, and you will want the highest quality possible. Both sites will re-process your video, and you need robust files so that your video comes out looking as good as it can. If your bit rate is too low, your video could break down and degrade during re-processing, resulting in poor-quality playback.
Social media sites like Facebook are similar; they will also list their recommendations. They will be a lot like those for YouTube and Vimeo, but may have file size limitations. In that case, you will want to find a format and bit rate which balances quality vs. file size. You’ll want the highest bit rate which will give you the best quality within the maximum file size.
Facebook and Instagram both prefer *.mp4 and *.mov files. Facebook recommends a frame size of 1280x720, and Instagram has a maximum frame rate of 30 fps.
VEGAS Pro 17 makes exporting for streaming video easy with the Share Online function. With a few easy clicks, VEGAS Pro will automatically format your video according to YouTube or Vimeo or Facebook guidelines, render it, and upload it to your account, all in a single step. You never have to worry about the details – VEGAS takes care of it for you.
| Formats | .mp4 | .mov | HQ | HEVC | AVCHD | MPEG-2 |
|---|---|---|---|---|---|---|
| Streaming | + | + | + | + | - | - |
| DVD/Blu-Ray | + | + | - | - | - | + |
| Sharing | + | - | - | - | + | - |
For delivery on disc like DVD or Blu-Ray, the requirements are very different.
All DVD files are MPEG-2, which is an older format and codec. DVD is limited only to SD resolutions. Most software will have export templates specifically for DVD export. HD and UHD video can be exported for DVD, but the resulting video will be converted to SD.
Blu-rays can carry HD and UHD video. Codecs on Blu-ray can be MPEG-2, but can also be H.264, which is more common. Most often, you will want to use H.264, using a Blu-ray export template which matches your resolution and frame rate.
For both DVD and Blu-ray, be mindful of the storage capability of the discs. Most DVDs and Blu-ray discs can hold about two hours of video at the highest quality. If your program is longer than two hours, you may have to lower the quality by choosing a lower bit rate. Like above, this will be a matter of choosing a bit rate which gives you an acceptable level of quality for the file size you need.
Sometimes you just want to make a video file for someone to play on their computer or tablet. One of the advantages of this is that you don’t have to worry about specific guidelines. You can make your video as high-quality as you want, and the only limit is the storage space on the media card or thumb drive or file-sharing service you use.
It’s best to stay with MP4 or AVCHD, because these files can be played by most current video players on most computer or tablet platforms. But your frame size, frame rate, and bit rate are totally up to you!

When it comes to video format support, VEGAS Pro is among the best. Edit natively in the latest codecs, unleashing the rich colors and stunning detail that today’s cameras offer, including HDR. Leverage the latest workflows and the power of your graphics card to accelerate your playback performance and rendering speeds.
VEGAS Pro supports the H.264 family, including MP4 and AVC/AVCHD, and also supports cutting-edge codecs like HEVC, as well as common professional formats like ProRes, XDCAM/XAVC and P2.
For export, take control of your video through extremely customizable render templates, allowing you to dial in exactly what you need. Whether it’s for streaming, optical disc, or even broadcast, VEGAS Pro has the tools to render to even the most exacting standards. And with automated features like Share Online, VEGAS Pro takes the guesswork out of exporting for online streaming!


What's the difference between VEGAS Pro and VEGAS Pro Suite?