What you’ll learn:
Learn about 3D animation pipelines for efficient 3D animation production
Creating 3D animation sequences for feature films, commercials, TV shows and many other purposes involves a lot of steps and a lot of people working together to get the sequences completed on time. Any production needs a system in place to make sure the process is efficient as possible and that everyone involved is on the same page as to what needs to be done and when. For 3D production, the system is known as a 3D animation pipeline.
In this article, we’ll take a look at the steps of a typical 3D animation pipeline, breaking down pre-production, production, and post-production into easy-to-follow steps with descriptions of what happens at each step.
First, we’ll explore what production pipelines are and why they’re necessary.
Then, we’ll cover the steps in Pre-Production:
✓ Story Development
✓ Script Writing
✓ Design
✓ Storyboarding
✓ Animatics
Then, we’ll move on to Production:
✓ 3D Layout
✓ 3D Modeling
✓ VFX
✓ Lighting
✓ Rendering
And then finally go through Post-Production:
✓ Compositing
✓ 2D VFX
✓ Color Correction
✓ Final Rendering
When we’re done, you’ll have a basic understanding of what goes into a 3D animation pipeline. Read on to find out more!
A production “pipeline” is an industry term for how the steps of production are organized in order to maximize efficiency and keep everyone involved on task, and importantly, on time. It’s a system designed to take each step in a pre-determined order so that everyone knows when and how their work needs to be done. Whether it’s a production with a crew of only a few or of hundreds, a pipeline ensures everyone know not only what their own task is, but also where and to whom they need to hand off the work for the next step.
Highly complex work like professional 3D animation often requires teams of artists and creatives working on a tight schedule, so an efficient pipeline is critical for the final product to be ready on time and at the expected level of quality.
While different production houses have their own ways of accomplishing their tasks, and the needs of different types of productions vary, what follow are the basic steps in a typical 3D animation pipeline.
No 3D animation pipeline – no production pipeline of any kind – is likely to be successful without thorough pre-production. Pre-production is the stage where you plan everything your project is going to be, down to the last frame.
Simply put, you have to know what you want to create before you create it. The more detailed your vision, the easier it more efficient it will be to bring it to life. Having a solid plan means everyone involved knows exactly what they have to do and will be prepared to do it, making production and post-production quicker and easier.
What’s more, a detailed vision even makes it easier for a little creative improvisation at later stages. With a good, meaty plan in place, there will be a lot more creative material to improvise from, and it will be easier to know how to fit it into the project.
We’ll go through the general process of pre-production in order, but keep in mind that these aren’t hard-and-fast separate stages that go from one to the next; each stage may influence the other stages and the team may go back and adjust elements at each stage accordingly. What’s important is that everything which then happens in production and post-production is planned for during the pre-production process.
Every project tells a story. The story is the crucial element that everything in else in the project is created to serve. A story usually starts with a question, and then the storyteller answers it along the way. Will he get there in time? Will she find that answer? Those and many, many more possible questions can form the backbone for a compelling story. It’s not so much the question itself, but how you answer it, which makes your story unique and interesting.
You must have a fully fleshed-out story developed before you can move on to any other step. Know your question and how to answer it. Know your characters. Know your setting.
The script is the story in plan form, written down with directions for everyone involved in the production. It’s a blueprint for the production that everyone references to know what their jobs are. A script must be detailed, and above all, understandable. It’s not poetry; it’s a set of directions for people to do their jobs. Think of it that way, and you’ll write better scripts.
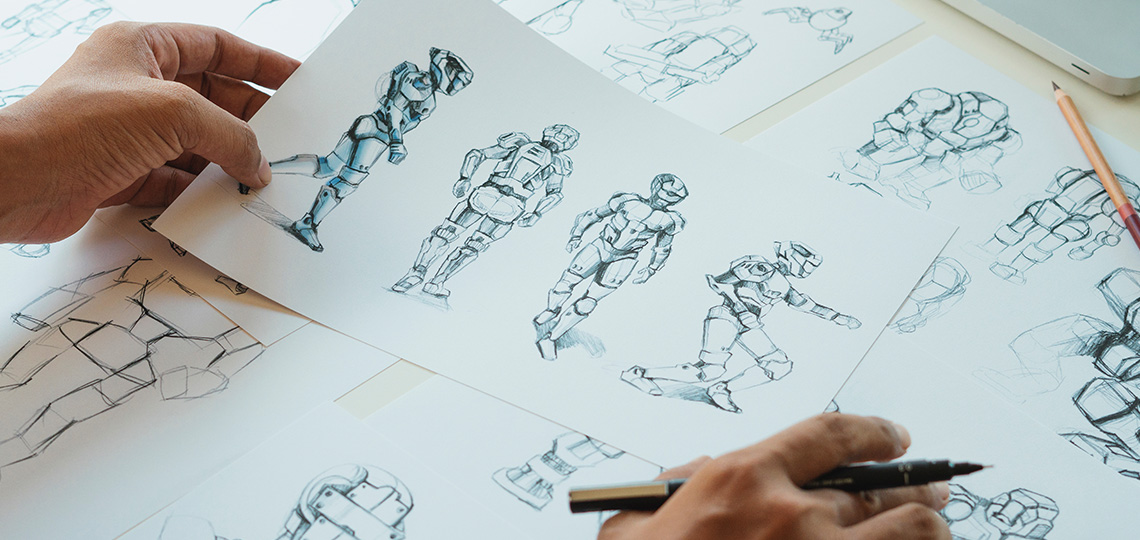
Scripts are just words; it’s up to the design team to bring the words of the script to visual life. The script will have descriptions of the 3D characters and objects which need to be designed, but it’s up to the designers, along with the director, to make them into real-world visual elements.
Sets, settings, characters, costumes, props, vehicles, and all the visual elements referenced in the script need to be designed. The final look of the 3D production is determined at this stage, but as we said, the steps of pre-production can be fluid and the different stages may feed off each other, leading to adjustments or changes as the process progresses.
Storyboards are the first visual representations of how the project will come together. Storyboards are somewhat like comic books, with drawn frames representing the visuals the audience will see on the screen. For decades, artists drew storyboards on paper, but these days, storyboard software allows not only still drawings, but also animation, allowing storyboard artists to give an even better feel for how the final project will come together.
Many different aspects of production, from directing, photography, acting, visual effects, costumes, and more, rely on the storyboards during production.
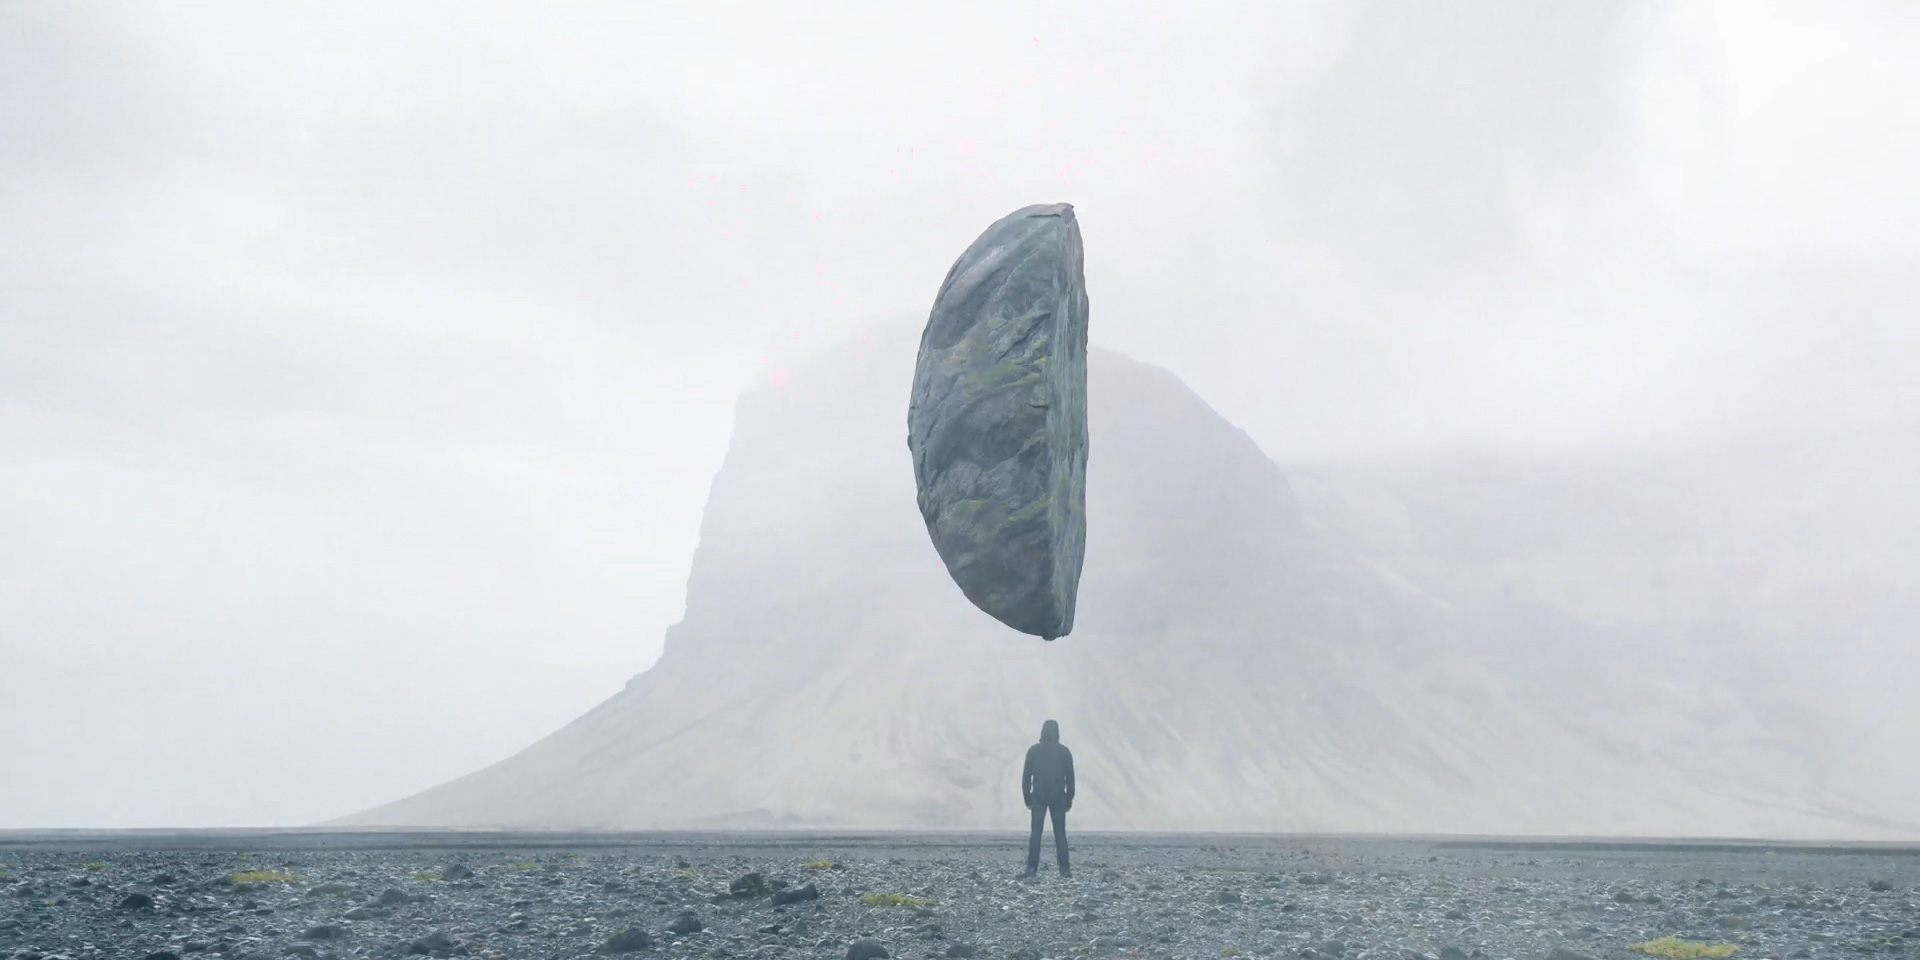
Animatics are similar to storyboards, but, especially germane to the 3D pipeline, they go beyond the storyboards in bringing the vision to life in an animated, 3D space, complete with camera movement and rudimentary 3D models of characters, settings, and props. They are “quick and dirty” moving studies of the project which guide production of the finished visuals.
Production is the stage where all the visual elements needed for the final project are created. In the 3D pipeline, it’s where the 3D models and settings are created. Even though it’s done virtually, it’s substantially the same process as a live production done with physical sets,
cameras, and actors.
Much like building a set, a 3D production requires the creation of its 3D world. Some of this work may already have been done in creating 3D animatics, but essentially, here’s where artists create the world, determining the size, shape, and interactions of all the 3D characteristics and attributes.
This is the meat of the 3D pipeline, the creation of the 3D models and objects, using 3D modeling software.
Artists create these models according to how they were visualized during the design process and what they must physically do according to the needs of the script, storyboards, and animatics.
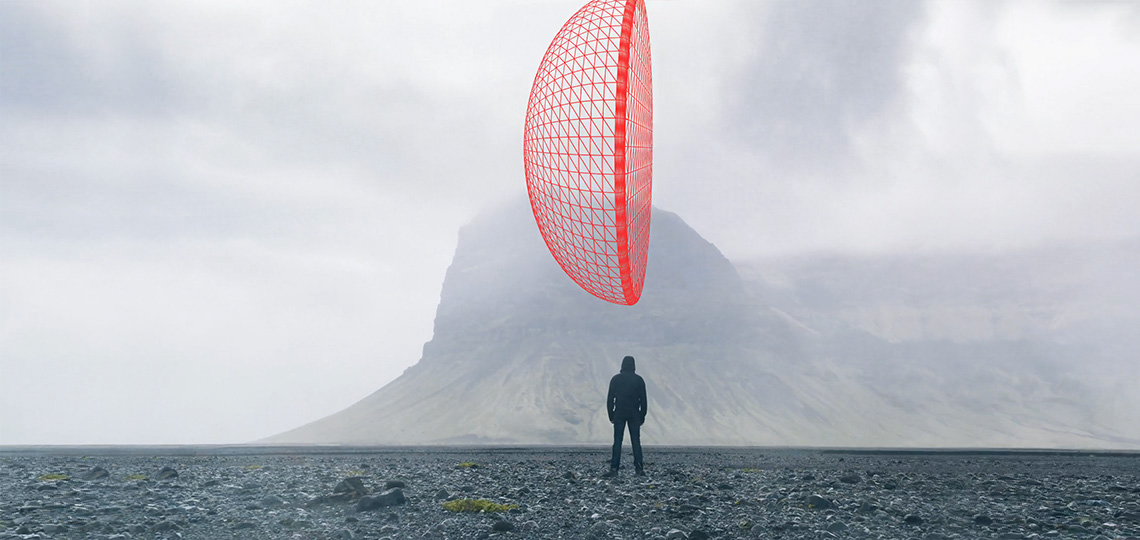
First, artists create the geometric shapes and forms of the models, usually in a basic, flat color like white or gray. Then they move on to the needed details.
3D Texturing:
Artists create and apply colors and surface details to the model. They plan for changes which will be needed later, like paint scheme changes, dust, weathering, or damage like charring or rust.
3D Rigging:
Here the artists develop the internal structure or “skeleton” of the 3D models, allowing animation of different parts of the model, such as arms and legs on dinosaurs, variable-pitch wings on jet fighters, car hoods which open and close, or anything else which may be required.
3D Animation:
Then, the artists do the actual animation of the models, moving them according to the needs of the script and storyboards.
At this stage, artists often use physics-based simulation rather than 3D modeling to create very complex elements such as fluids, fur, explosions, etc., things which are more easily produced by particle generators such as those found in high-end effects software like VEGAS Effects. Sometimes these elements can be created through 2D effects, but the nature of them often means they need to be simulated in 3D space, especially as they need to be included in the next step.
Useful Tips: Understanding the VFX Stage of the 3D Animation Pipeline
Once created, the environment and models need to be lit, the same as any physical set, actor, or model miniature. Lighting is practical and also artistic; we not only need to see the environment and models, they need to be lit for mood and atmosphere as well.
The rendering stage is a little different from what you may be used to when video editing. In editing, rendering usually means creating a final version of your program, generating the video file to be watched.
In the 3D pipeline, rendering at this stage means exporting video sequences, but each element – the environment, the characters, the props, everything – is rendered separately, to be composited back together in post-production.
Post-production is the final stage of the pipeline, where the finished project is made. All final polishes and details happen at this stage, and a final product rendered.
Post professionals bring all of the rendered 3D elements back together in high-end professional effects or compositing software like VEGAS Effects. This software has the capability of working in 3D space, as well as importing and manipulating 3D models created in 3D modeling software.
VEGAS Effects, for example, is 3D space-aware and features many effects tools leveraging 3D space and integrating 3D models, such as mesh warp tools which can “paint” other images or particle generators onto the 3D models.
Useful Tips: Compositing in 3D Animation: What it is and How it's Done
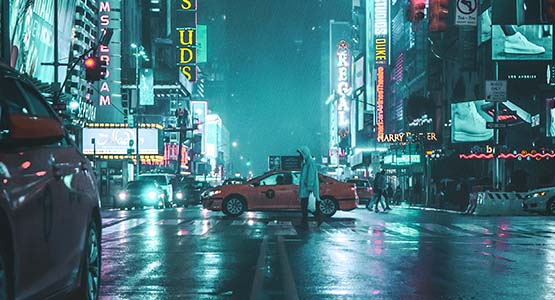
Post professionals add 2D effects like lens flares, blurs, camera shakes, rain, or many other elements, taking advantage of powerful tools in software like VEGAS Effects or VEGAS Image.
These kinds of effects are often easier to achieve in a 2D environment, rather than rendering them as 3D effects in the production stage.
These 2D effects can be mixed into many different layers for complex and hyper-realistic composite shots.
Once all the elements are combined, post professionals take a color correction or color grading pass at the composite images as a whole, to even out any coloration, and also to create a consistent, polished, cohesive look, making all of the elements appearing to exist in the same world.

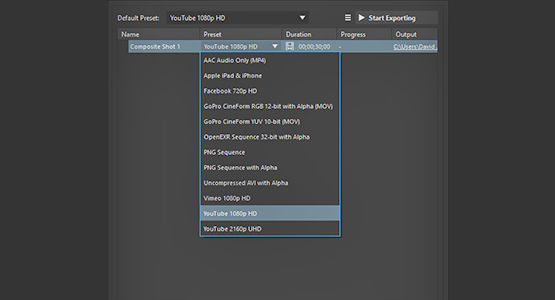
At the end of the pipeline, it’s time for the final render for delivery and viewing. Professional effects software like VEGAS Effects and professional editing software like VEGAS Pro offer a wide array of video formats for many different kinds of delivery, so you can make your final render the specifications needed to deliver your final work to your client or audience.

What's the difference between VEGAS Pro and VEGAS Pro Suite?